
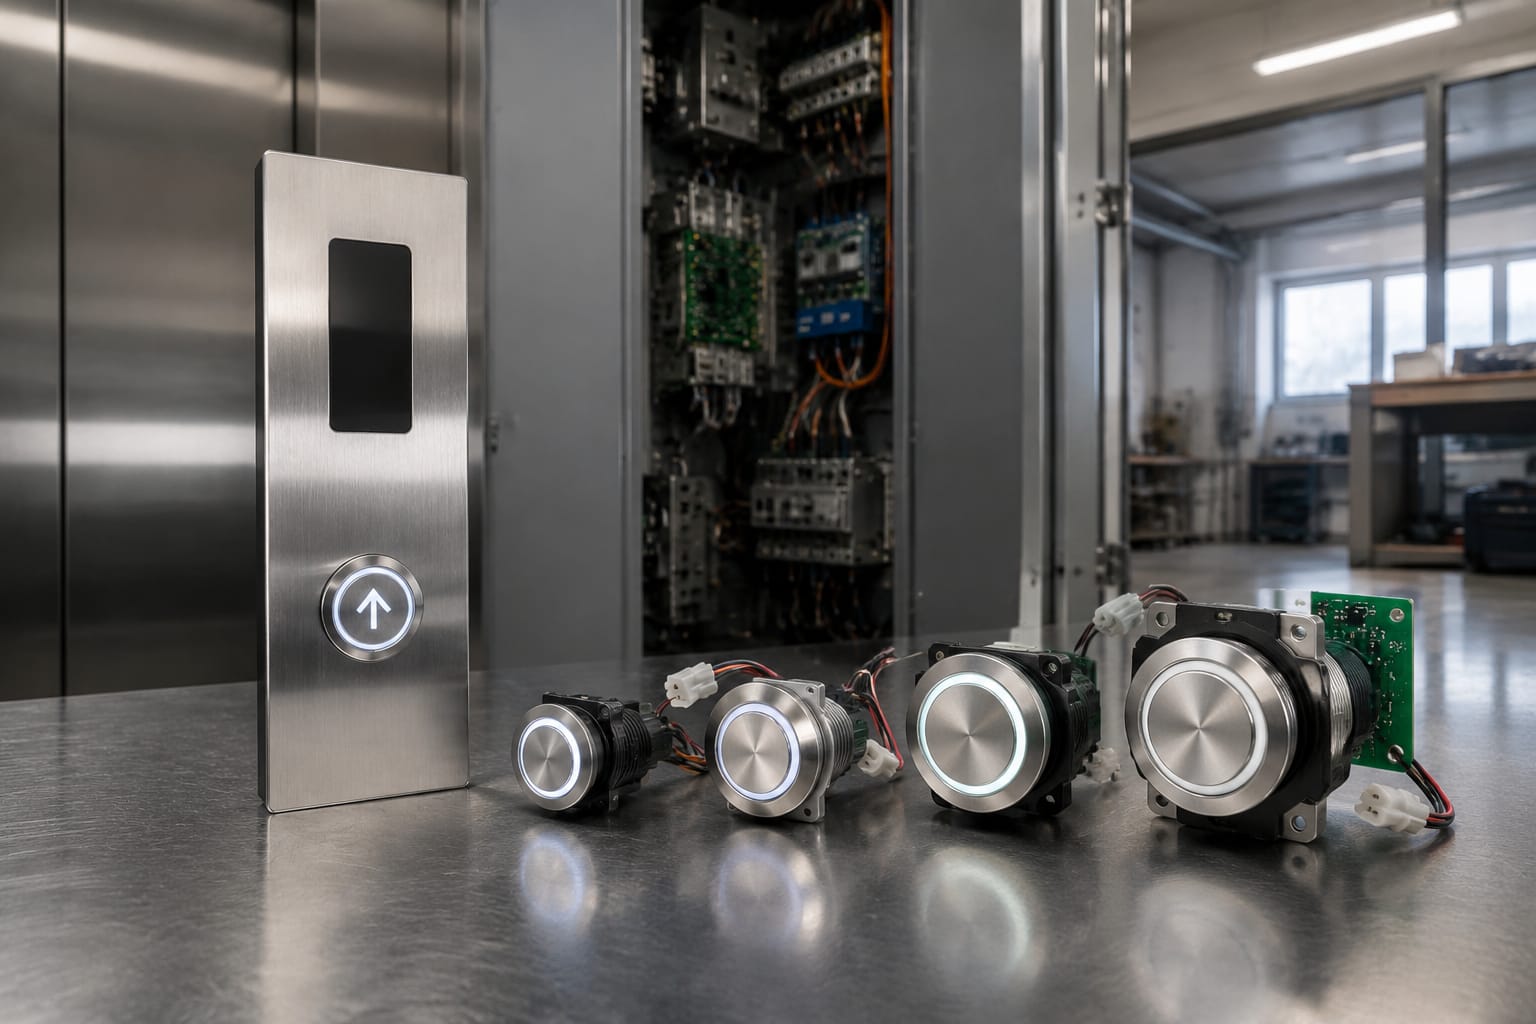
Elevator button replacement is rarely as simple as fitting a button with the same symbol. A replacement must match the existing panel mechanically and electrically, communicate correctly with the controller where applicable, and restore clear illumination and reliable operation. Replacing the wrong component can leave a landing or car operating panel with intermittent calls, incorrect indication or an unsafe loose fit.
For maintenance teams and buyers, the practical sequence is to isolate the fault, record the removed component precisely, verify electrical and mounting compatibility, then test the repaired panel under normal operating conditions. The button price is only one part of the decision; diagnostics, panel condition, access, quantities and commissioning time also affect the total elevator buttons replacement cost.
When an elevator button needs replacement
Replace an elevator push button when its condition affects dependable operation, legibility, passenger use or the integrity of the panel. Do not assume a button is faulty simply because a lift does not respond. The cause may be the contact block, wiring, connector, input board or controller logic.
Typical signs that a button merits investigation include:
- The button does not register a press, or works only when pressed at a particular point.
- The button stays mechanically depressed, feels loose or has excessive travel.
- The light is permanently off, permanently on or visibly flickers.
- The legend, Braille marking or direction symbol is damaged or difficult to read.
- The bezel is cracked, discoloured or no longer sits flush with the faceplate.
- The button has been vandalised, exposed to water ingress or contaminated by cleaning chemicals.
- A terminal, connector or retaining arrangement has become loose behind the panel.
- Several buttons have similar age-related wear, making further individual failures likely.
A non-illuminating button may still operate electrically, and an illuminated button may still have a failed contact. Treat these as separate functions until testing shows otherwise. Similarly, an intermittent floor call can result from a loose wiring connection that becomes affected when the panel moves or vibrates.
Before opening any operating panel, use the site’s authorised isolation procedure and ensure the work is carried out by a competent lift technician. Landing operating panels and car panels are part of a live lift system; the correct electrical safety process matters as much as the spare part selection.
Diagnose the button, board, or wiring
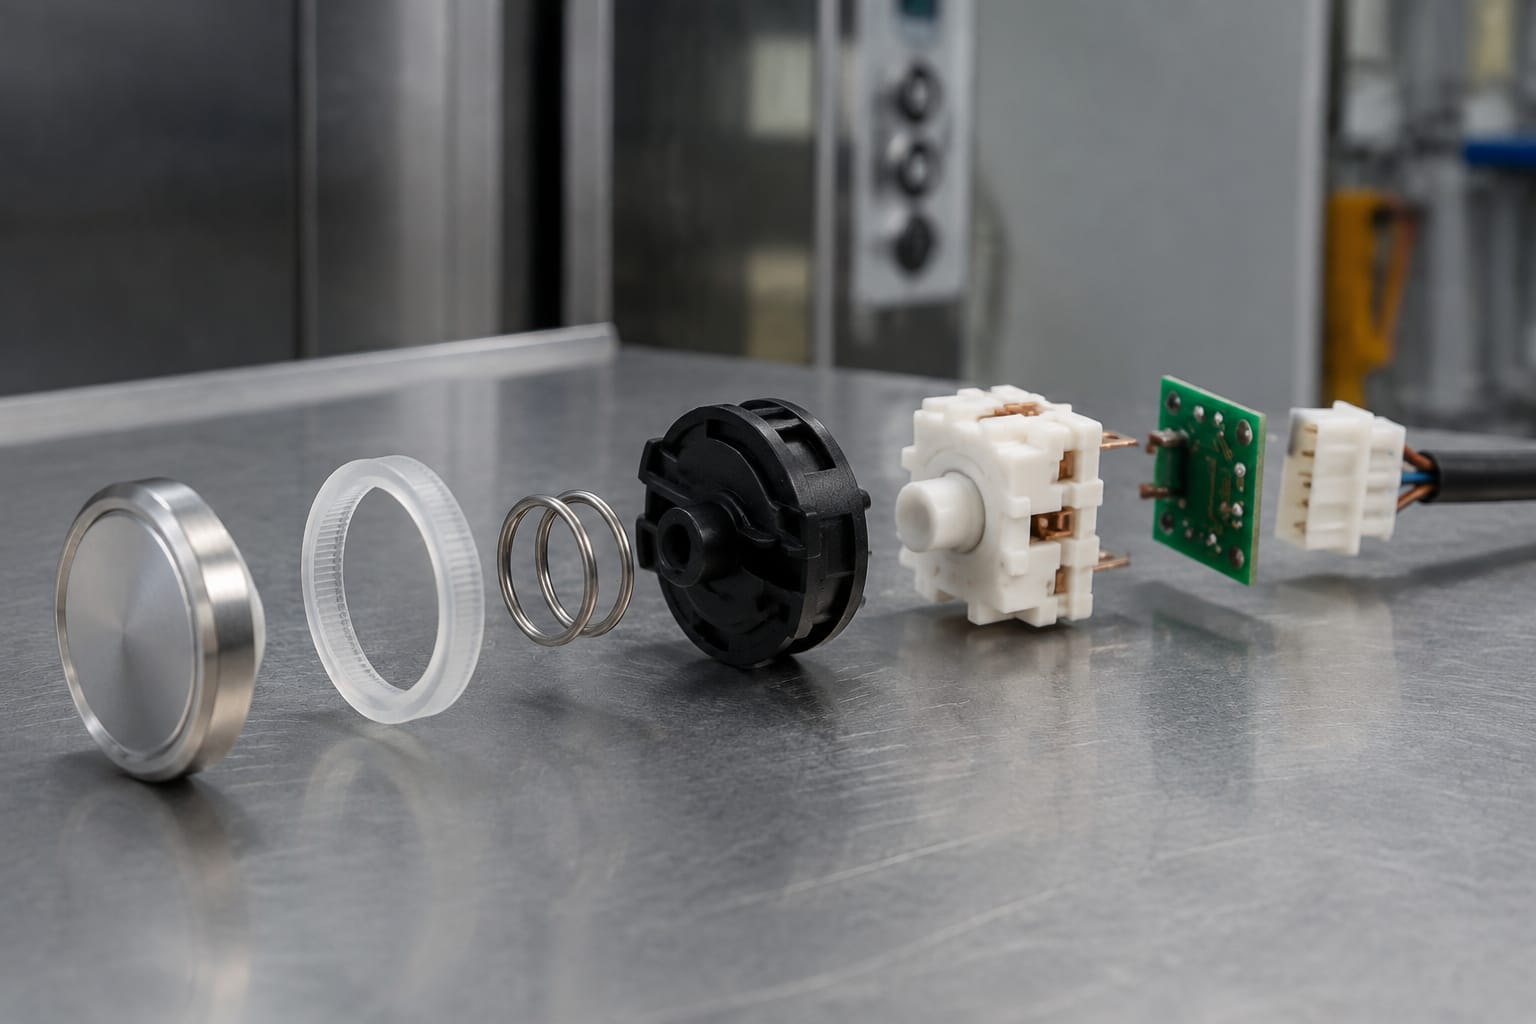
The most economical repair begins with a clear fault boundary. A single failed button often points to the button assembly, its terminals or its local wiring. Multiple failures in the same panel may indicate a common supply, shared connector, board fault or communication issue.
Start with the fault pattern
Record what happens when the button is pressed:
| Observed symptom | Likely area to inspect first | Important follow-up check |
|---|---|---|
| One button has no tactile response | Mechanical button assembly or retaining clip | Check for binding against the faceplate |
| One button presses normally but does not call | Contact, local wiring or input channel | Test continuity and input response |
| One button works but does not illuminate | Lamp, LED module, polarity, supply or output | Confirm the specified illumination voltage |
| Several buttons are dark | Common supply, connector or board | Check shared supply and connector seating |
| Several buttons do not register | Board, harness or controller-side signal path | Compare with another functioning panel where appropriate |
| Fault changes when panel is moved | Cable, terminal or connector | Inspect for strain, broken conductors and loose pins |
| Incorrect floor or direction indication | Button configuration, board mapping or wiring | Confirm the identification and terminal assignment |
Visual inspection should come first. Look for heat marks, corrosion, bent terminals, loose crimp connections, trapped cable and damaged insulation. Note any recent water ingress, renovation dust, cleaning work or panel removal. These circumstances can explain failures that are not caused by the push button itself.
Test without substituting blindly
Where the design permits, test the button contact and illumination circuit according to the manufacturer’s documentation and the system’s electrical arrangement. A continuity test can help establish whether a simple momentary contact changes state as expected. It cannot, by itself, prove that a networked or coded button is compatible with the system.
For a conventional push button, compare the suspect position against a known-good button of the same type. For a board-mounted, serial or controller-specific arrangement, inspect the input or expansion board and connector mapping before ordering a button.
A replacement button should not be used as a diagnostic guess when the fault could be upstream. Unnecessary substitutions increase cost and risk damaging a good component during repeated panel work. Where a board is implicated, inspect compatible elevator car button boards only after confirming the system architecture and board references.
Record dimensions and mounting style
A clear record from the existing part prevents most procurement errors. Photographs help, but measurements and connection details are more dependable than appearance alone. Different buttons can look nearly identical from the front while using incompatible cut-outs, depths, thread forms, connectors or circuits.
Record the following before removing or ordering the replacement:
- Panel type and location: car operating panel, landing operating panel, hall call station, fire service panel or another special station.
- Lift brand, controller type and any panel or component reference shown on labels.
- Button function: floor selection, door open, door close, alarm, stop, up call, down call or another command.
- Legend and marking: floor number, symbol, Braille arrangement, arrow direction and colour where relevant.
- Face diameter or dimensions, ideally measured with callipers.
- Panel cut-out diameter and panel thickness.
- Overall rear depth available behind the faceplate.
- Mounting method: threaded body and nut, spring clip, snap-fit, screws, PCB mount or proprietary carrier.
- Contact arrangement and terminal count.
- Connector type, pin count, pin layout and cable orientation.
- Illumination type, colour, voltage and whether it uses separate terminals.
- Part number, revision marking and manufacturer information.
- Clear front, rear and side photographs alongside a scale.
Do not measure only the visible cap. The panel cut-out and rear body determine whether the part will fit. A 27 mm button, for example, may refer to a relevant opening or body dimension, but the exact measurement convention must be verified against the product drawing or removed part.
For designs using an open hole and four-pin connection, this 27 mm green-light Otis elevator button illustrates the sort of attributes that need matching: intended system, opening size, pin arrangement and illumination colour. It should not be treated as a universal substitute for other button types.
Check the panel construction too
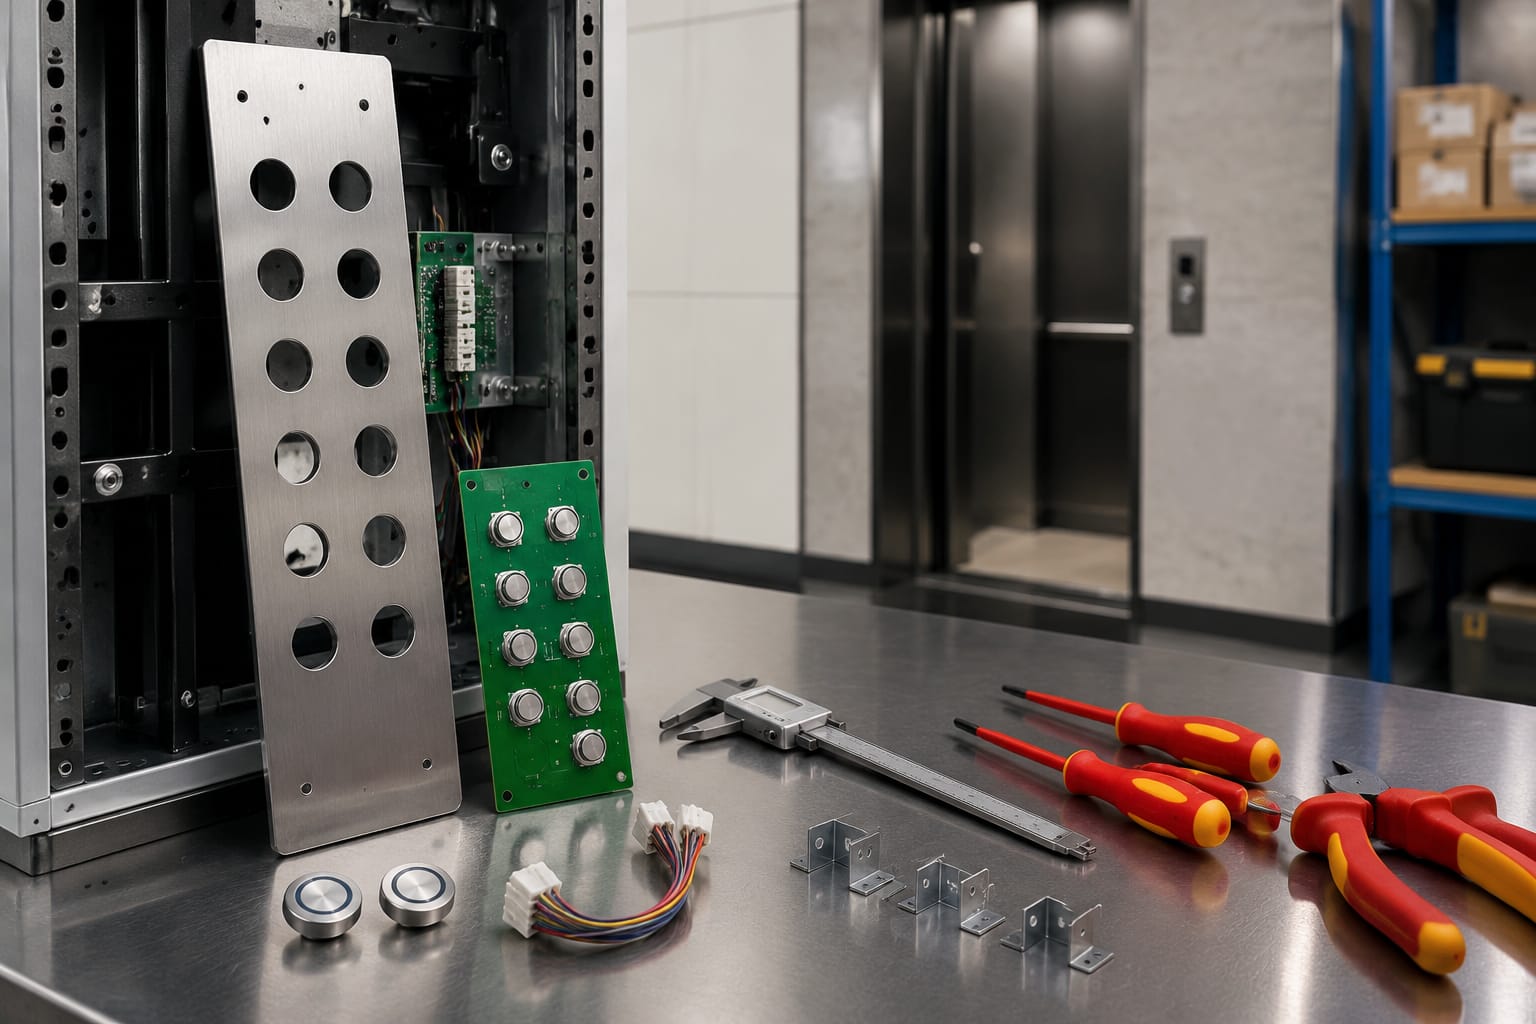
A damaged cut-out, bent stainless-steel faceplate or missing retaining hardware can cause a new button to sit unevenly or bind. Inspect the panel from both sides. If the original part has been forced out, check whether a retaining spring, anti-rotation feature, gasket or mounting ring has also been damaged.
Where panel apertures are no longer sound, replacing the individual button may only conceal the underlying problem. Repairing or replacing the faceplate or the complete panel can be the more reliable option.
Match voltage, illumination, and connector
Physical fit is necessary but insufficient. The replacement’s electrical properties need to match the original circuit and system interface. This is especially important when moving between legacy and modernised equipment, where visual similarity can conceal a different input method.
Confirm these points before purchase:
- Contact type and normal state: Establish whether the original uses normally open, normally closed, changeover or another circuit arrangement. Safety-related and special-function buttons require particular care.
- Electrical rating and operating voltage: Match the circuit requirements stated for the button and the lift system. Never assume that a low-voltage-looking component is interchangeable.
- Illumination method: Identify LED, lamp or integrated module construction. Check supply voltage, AC/DC compatibility where specified, polarity for DC LEDs and whether illumination is separate from the contact circuit.
- Illumination colour and indication behaviour: Green, red, blue, white and other colours may carry site-specific or system-specific meaning. Match the intended visual indication, not merely the available stock colour.
- Connector and pinout: Match pin count, keying, terminal order and wiring orientation. Connectors with the same number of pins can still use different assignments.
- Communication or coding: Some fixtures connect through a button board or serial system rather than a standalone dry contact. They may need a particular address, board type or programmed configuration.
- Backlighting and legend format: Confirm whether the button is halo-lit, face-lit, edge-lit or uses an external lamp. Check that legends and tactile markings remain consistent across the panel.
A new button can be mechanically correct but electrically wrong. Applying an unsuitable illumination supply can immediately damage an LED module or cause inconsistent lighting. Conversely, incorrect connector assignment can create a false input or disable other panel functions.
For systems built around a controller-specific expansion arrangement, the relevant part may be a Monarch-system button board expansion board rather than a replacement push button alone. Confirm the existing board reference, connector positions and controller compatibility before making that decision.
What affects replacement cost
The cost of elevator buttons replacement varies substantially because the work can range from fitting a standard contact button to diagnosing and restoring a proprietary operating panel. Request or prepare a cost breakdown that separates parts from labour and any wider panel work.
The main cost factors are:
| Cost driver | Why it changes the cost |
|---|---|
| Button construction | Standard mechanical buttons generally differ from illuminated, vandal-resistant, coded or proprietary assemblies |
| Quantity | Replacing one failed button may involve more handling per unit than a planned multi-button replacement |
| Brand and system compatibility | OEM-specific parts, older product lines and controller-linked devices may require more identification work |
| Panel access | Car and landing panel access, securing procedures and working conditions affect labour time |
| Fault diagnosis | Wiring, connector and board investigations add time beyond a straightforward mechanical exchange |
| Faceplate condition | Enlarged holes, corrosion, bent panels and missing hardware can require repair or panel replacement |
| Illumination and legends | Custom colours, floor legends, Braille requirements and matching existing aesthetics can affect selection |
| Testing and return to service | Functional checks, correction of wiring issues and documentation form part of a complete repair |
Avoid treating the lowest component price as the lowest repair cost. An incompatible button may require a second visit, further panel disassembly and additional parts. For a building owner or maintenance contractor, an accurately identified replacement is usually more valuable than a nominal saving on an unverified alternative.
For batch procurement, group parts by actual configuration rather than calling every item “lift button”. Separate floor buttons by diameter, mounting, illumination, connector, legend and system. This reduces accidental mixing at stores and site level.
Replace individual buttons or the panel?
Replace individual buttons when the failure is isolated, compatible spares are available and the remaining panel is mechanically sound. Replace or modernise the panel when failures are recurring, parts are obsolete, the faceplate is damaged, accessibility markings are inadequate or the existing layout no longer suits the system.
| Choose an individual button replacement when | Consider panel replacement or modernisation when |
|---|---|
| One or a small number of buttons are defective | Several buttons have failed or show severe wear |
| The cut-out, retaining system and faceplate are intact | The panel is bent, corroded, cracked or repeatedly tampered with |
| An exact electrical and mechanical match is confirmed | Compatible individual parts cannot be reliably sourced |
| Existing legends and illumination remain consistent | Mixed button styles would make the panel confusing or untidy |
| The board and wiring test correctly | The board, harness or panel architecture has wider faults |
| The repair will preserve tactile and visual usability | Accessibility features are damaged, missing or inconsistent |
There is also a middle route: retain the panel structure but replace a matched set of buttons, legends or the button board. This may be practical where the faceplate is sound but several buttons are near end of service life.
Do not replace an entire panel solely because a lamp has failed if the button body and system interface can be repaired correctly. Equally, do not force an individual-button repair where the panel has repeated electrical faults or poor passenger usability. The decision should consider expected maintenance effort over the next service period, not only the immediate fault.
Functional and accessibility testing
A panel should be tested after every button replacement before it is returned to normal service. Testing confirms that the repair has restored the intended function and has not affected adjacent buttons, illumination or lift response.
Functional test checklist
With the lift and site procedure permitting, verify:
- The button is firmly mounted, aligned and flush with the panel.
- It moves freely and returns correctly after release.
- The relevant call, floor selection or command registers consistently.
- The lift responds as expected without false calls or delayed operation.
- Illumination activates and clears in the intended manner.
- Adjacent buttons and indicators still work correctly.
- No connector, terminal or cable is under strain when the panel is refitted.
- The panel closes securely without pinching conductors.
- The repaired position works over repeated presses, not only a single test.
- Any logged fault condition has been cleared or recorded according to the maintenance process.
Test both the button action and the system response. A click from the button is not evidence that the controller receives the call; an illuminated ring is not evidence that the contact operates.
Check accessibility features after the repair
The replacement should preserve the usable characteristics of the original panel. Confirm that markings are legible, symbols match the intended function and tactile features are not obstructed by poor alignment. Where Braille or raised characters are provided, they must remain correctly positioned and readable.
Avoid substituting a visually similar button with a different legend layout merely to complete a repair. In a passenger-facing panel, consistency helps users find the correct control quickly, particularly where the panel is used by people with low vision or limited dexterity.
Common ordering mistakes
Most wrong orders result from incomplete identification rather than a difficult technical issue. The following mistakes are especially common in elevator spare-parts purchasing.
- Ordering from a front photograph only: The rear mounting, terminal arrangement and connector may differ completely.
- Using nominal diameter as the only match: A matching face size does not confirm cut-out, body depth, thread or retention compatibility.
- Ignoring the pinout: Four pins do not guarantee the same function, polarity or terminal order.
- Missing the illumination specification: LED voltage, colour and lighting arrangement need confirmation.
- Assuming one brand’s button is universal: Brand-labelled and controller-linked parts can have specific mechanical or electrical interfaces.
- Copying a worn or altered legend: Verify the intended floor designation and symbol against the panel schedule or building layout.
- Ordering a button when the board is faulty: Test common supply, wiring and input channels before purchasing multiple replacements.
- Replacing one button in a severely worn panel: The result can be inconsistent operation and appearance, with further call-backs likely.
- Leaving out panel thickness and rear clearance: A correct front diameter can still fail to fit behind the faceplate.
- Not retaining the removed part for comparison: The original component, label and connector often resolve uncertainty faster than photographs alone.
A useful purchase enquiry or internal requisition includes the part number where available, dimensions, mounting photographs, connector photographs, voltage and illumination details, button function, lift/controller details and required quantity. State any uncertainty clearly instead of filling gaps with assumptions.
For multi-brand sourcing, Kelevator supplies elevator spare parts to B2B importers, distributors, maintenance contractors and OEM buyers. Provide the recorded technical details so the proposed part can be assessed against the existing installation rather than selected by appearance alone.
Frequently asked questions
Can any same-size lift button replace the original?
No. Same diameter is only one requirement. The cut-out, panel thickness, mounting method, rear depth, contact configuration, illumination circuit, connector and controller interface may all differ.
Can a failed illuminated button be repaired by changing only the LED?
Sometimes the illumination element may be separately replaceable, depending on the button design. First confirm whether the contact mechanism, lens, LED module and wiring are separable. An integrated assembly may need complete replacement.
Why does a new button light up but not register a call?
The contact circuit may be wired incorrectly, the contact type may not match, a connector pinout may differ, or the issue may lie in the panel board or controller input. Illumination and command registration should be diagnosed as separate circuits unless the system documentation says otherwise.
Should all buttons be changed at once?
Not necessarily. Replace one button when the fault is isolated and an exact match is available. Consider a matched set or panel replacement when multiple buttons are worn, obsolete or inconsistent, or when the panel itself is damaged.
Before ordering, document the existing button and confirm the fault path from button to board or wiring. That preparation makes it far easier to select a compatible replacement, estimate the true repair cost and return the lift panel to dependable service.
Related product references
For practical catalog examples related to this topic, review [Button 4 Pins Open Hole 27MM Green Light OTIS elevator parts lift accessories](/products/button-4-pins-open-hole-27mm-green-light-otis-elevator-parts-lift-accessories/), [elevator car button board lift parts](/products/elevator-car-button-board-lift-parts/), and [button board expansion board Monarch system elevator parts lift accessories](/products/button-board-expansion-board-monarch-system-elevator-parts-lift-accessories/). Confirm the exact model, dimensions, ratings, and connectors before ordering.