
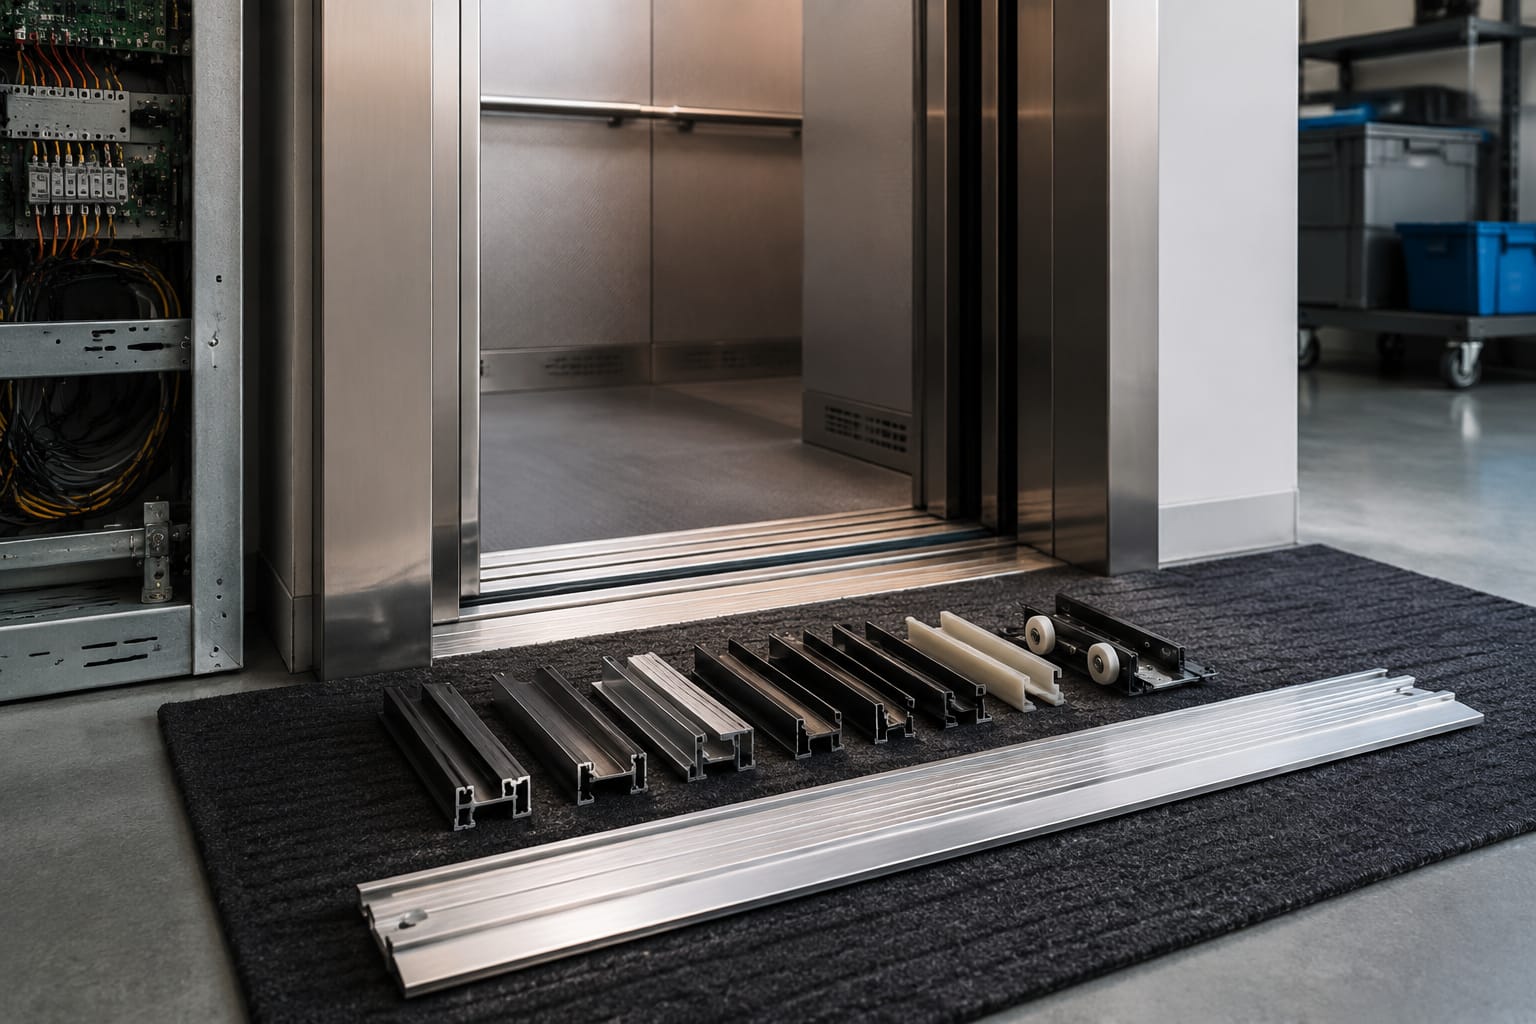
An elevator door sill is the grooved threshold at the bottom of a car or landing doorway. Its grooves guide the door-panel shoes, helping each panel travel on a controlled path and close in the intended position. A sill that is blocked, worn, bent or incorrectly matched to the door shoes can cause rubbing, noise, door reversal, poor panel alignment and repeated door faults.
For maintenance and replacement work, do not treat the sill as a generic aluminium strip. Confirm whether it is a car sill or landing sill, identify the groove profile and panel-shoe arrangement, measure the full fixing pattern, and inspect the associated hanger and door-panel alignment before ordering parts.
What an elevator door sill does
An elevator door sill has two practical jobs: it provides a durable threshold at the entrance, and it contains guide grooves that keep the lower part of each sliding door panel aligned during travel.
The door operator and hanger assembly control motion from above. At the bottom, the panel shoe or guide insert runs in the sill groove. This arrangement prevents excessive lateral movement of the panel and helps maintain a consistent clearance between mating panels, jambs and the entrance.
A correctly selected and fitted elevator door sill supports:
- Smooth panel movement without scraping or binding
- Stable door-panel tracking throughout opening and closing
- Correct meeting position of centre-opening or side-opening doors
- Reduced wear on door shoes and panel edges
- A safer, more even threshold surface at the entrance
The sill itself does not compensate for every door problem. A door that is badly out of alignment, has loose hanger components, damaged rollers or an incorrectly set operator can still malfunction even when the sill is sound. Conversely, a worn sill groove can create symptoms that look like an operator or hanger fault.
Car sills versus landing sills
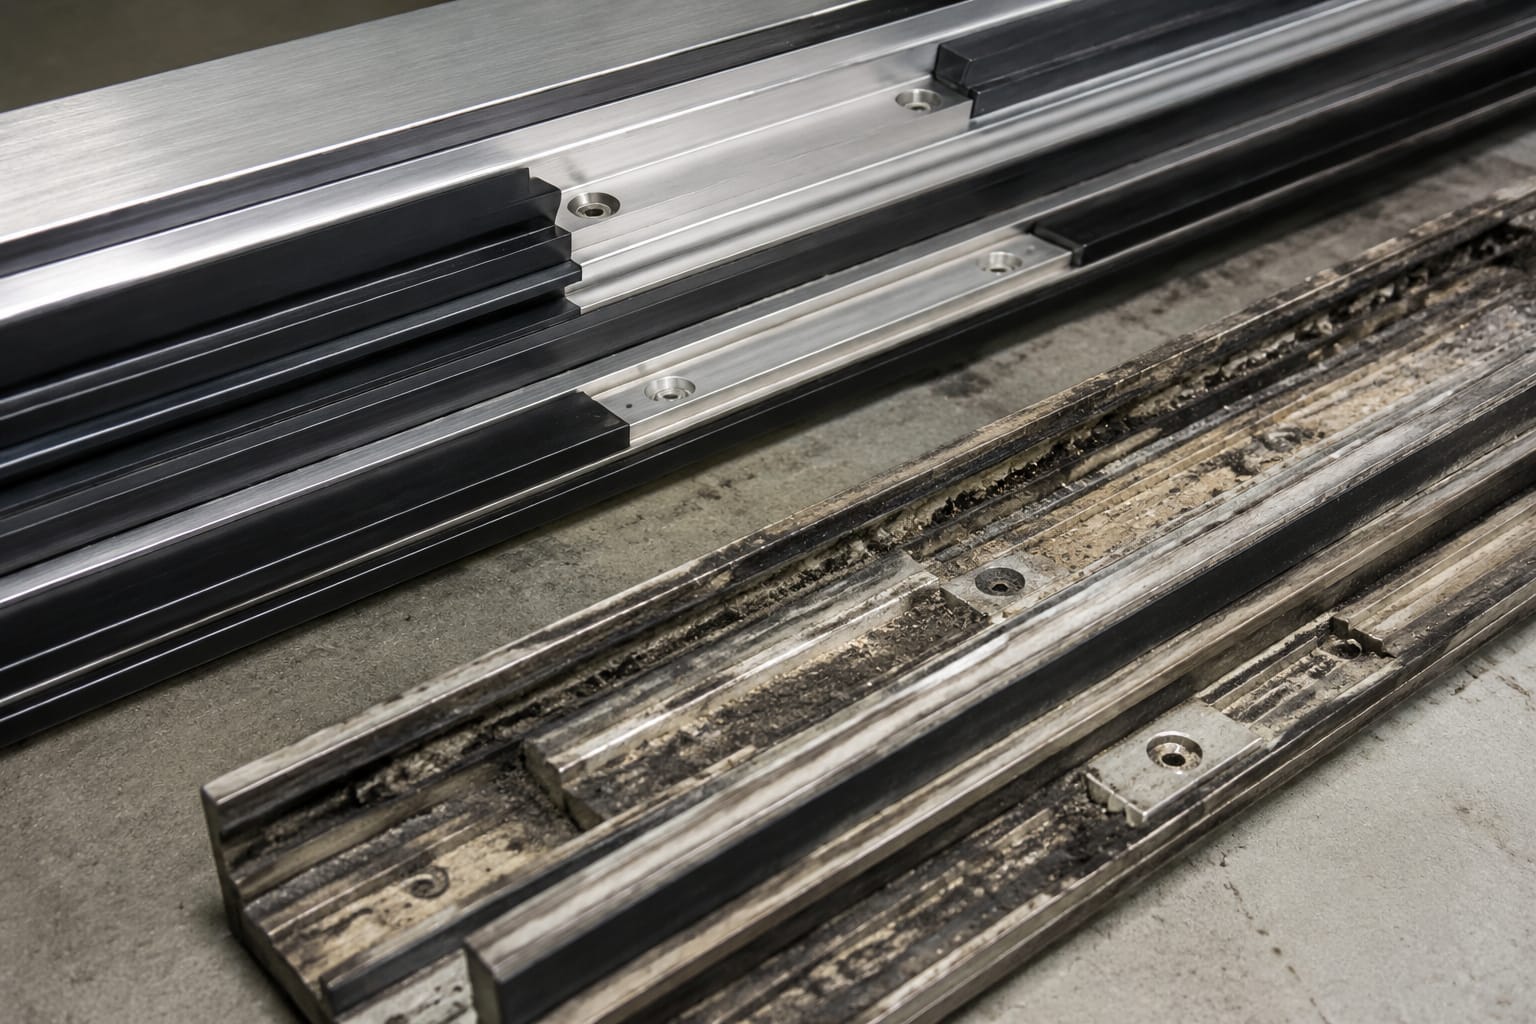
Car and landing sills serve a similar guide function, but they belong to different door systems and should be assessed separately.
The car sill is installed at the entrance of the lift car. It moves with the car and guides the car-door panels. The landing sill is fixed at each floor entrance and guides the landing-door panels. When the car is level with a landing, both sill areas form the threshold across which passengers and goods pass.
Their profiles may appear similar, particularly in installations using matched door systems, but they are not automatically interchangeable. Dimensions, groove locations, panel count, mounting method and interface clearances can differ.
| Check point | Car sill | Landing sill |
|---|---|---|
| Location | At the lift car entrance | At a fixed floor entrance |
| Door panels guided | Car-door panels | Landing-door panels |
| Movement | Travels with the lift car | Remains at the landing |
| Main related components | Car door operator, car hangers and shoes | Landing hanger, interlock area, landing-door shoes |
| Replacement consideration | Must suit the car entrance and bottom guides | Must suit the floor entrance, threshold condition and landing doors |
At a landing, check the relationship between the car sill and landing sill when the lift stops level. Poor levelling can create a step or gap concern, but it should not be mistaken for sill wear. Likewise, a damaged landing sill may affect only one floor, whereas car-sill damage can affect every landing served by that car.
For either part, inspect the actual installed profile. Relying on the lift brand alone is risky because installations may have been modernised, repaired with alternate components or built with locally adapted door arrangements.
Common sill materials and profiles
Aluminium alloy is widely used for elevator door sills because it offers a practical balance of weight, corrosion resistance and machinability. In demanding environments, the surface condition and groove geometry still need routine attention. Heavy trolley movement, abrasive grit, water exposure and poor housekeeping can damage even a robust sill.
Other materials or finishes may be encountered in older, specialised or high-traffic applications. The appropriate choice depends on the original system design, expected loading, environmental exposure and the available compatible door shoes. A replacement should match the door system rather than be chosen only for material thickness or appearance.
Groove layouts and profiles
The most important compatibility feature is normally the profile. Sills can have different:
- Numbers of grooves
- Groove widths and depths
- Centre-to-centre groove spacing
- Outer-edge shape and overall width
- Door-opening arrangement, such as centre-opening or side-opening
- Fixing-hole positions and countersink details
- End preparation, cut-outs or interfaces with jambs and threshold pieces
A multi-panel centre-opening door commonly needs a sill designed around several guide paths. A telescopic or side-opening arrangement has a different panel travel pattern. Similar-looking grooves can still place the shoes in the wrong position if their spacing differs by a small amount.
For example, an aluminium alloy 60 mm F-type elevator door sill should be evaluated against the installed profile, width, groove arrangement and fixing requirements. Its product name alone is not sufficient evidence of fitment for every door system.
Surface condition matters as much as material
Sill grooves are low points where dust, sand, metal particles, packaging debris and hardened residues can collect. In Indian commercial, residential and industrial buildings, entrance traffic and wet cleaning can increase the chance of grit or moisture being carried into grooves. The practical priority is regular removal of contamination, especially where the building sees frequent goods movement or construction-related dust.
Avoid assuming that a deeper groove is always better. The correct groove dimensions are determined by the original door shoe and panel geometry. An unsuitable profile can leave the shoe loose, make it bottom out, or alter panel alignment.
Signs of wear, damage and obstruction
Most sill problems are visible during a careful door inspection. The key is to inspect the full opening path rather than only the area directly in front of the entrance.
Look for the following conditions:
- Packed dirt, stones, screws, fragments of plastic or hardened cleaning residue in the grooves
- Grooves with rounded, widened or uneven edges
- Burrs, sharp lips or raised impact marks that catch a shoe
- Cracks, dents, distortion or local crushing near the doorway edge
- Loose screws, damaged threads or a sill that moves under load
- Missing, worn or incorrectly seated door shoes
- Scoring on the shoe, panel bottom or sill surface
- Door panels that rub, chatter, hesitate or make a scraping sound
- A door that closes unevenly, reverses repeatedly or fails to reach its normal closed position
An obstruction is often the quickest issue to resolve, but do not simply clear it and close the job. Determine whether debris has caused a burr, damaged a guide shoe or exposed an underlying alignment issue.
Symptoms that need broader diagnosis
Door noise does not prove that the sill is faulty. Inspect the hanger rollers, door track, coupler, operator settings, panel fasteners and guide shoes as part of the diagnosis. A panel can enter the sill groove at an angle because of an upper-hanger issue; replacing the sill alone would not correct the cause.
Similarly, a worn guide shoe may produce free play that accelerates groove wear. When either part is replaced, assess its mating component. Pairing a new sill with badly worn shoes can quickly damage the new grooves.
Cleaning and inspection practices
Cleaning is a maintenance task, not a cosmetic one. The objective is to keep the guide path clear without damaging the groove, forcing debris deeper or leaving a slippery residue at the threshold.
Follow the lift manufacturer’s maintenance procedures and site safety arrangements. Door work should be performed by trained personnel with the equipment placed in a safe maintenance condition.
A practical sill inspection routine includes:
- Open the doors and isolate the equipment as required by the approved maintenance procedure.
- Vacuum or brush loose debris from each groove and from both ends of the sill.
- Use a non-aggressive cleaning method suitable for the sill material and the site’s cleaning product controls.
- Check for embedded particles, dents, burrs, cracked sections and raised fixing heads.
- Inspect each bottom guide shoe for wear, looseness, cracking and correct engagement.
- Operate the doors through several complete cycles after returning the equipment to service.
- Record recurring contamination or damage by landing, especially where a local building-use issue may be contributing.
Do not use sharp tools casually inside the groove. They can score aluminium, enlarge a damaged edge or leave fragments behind. Do not apply excessive lubricant to a sill groove unless the door-system manufacturer specifically requires it. Oily grooves can retain abrasive dust and may create an undesirable condition at the entrance.
The inspection frequency should reflect actual exposure. A lightly used residential lift and a goods lift serving active loading areas do not experience the same level of contamination or impact risk. Increase checks where dust, trolley traffic, renovation work or repeated door complaints are present.
Measure profile, width and fixing points
Accurate measurement is the difference between a usable replacement and a part that requires rework or cannot be installed. Take measurements from the installed component or an approved drawing, not from a general description such as “four-groove sill”.
Before removal, photograph the sill, its ends, each fixing point and the relationship between groove positions and door-panel shoes. Mark the orientation where necessary. This gives the purchasing and installation teams a record of the configuration.
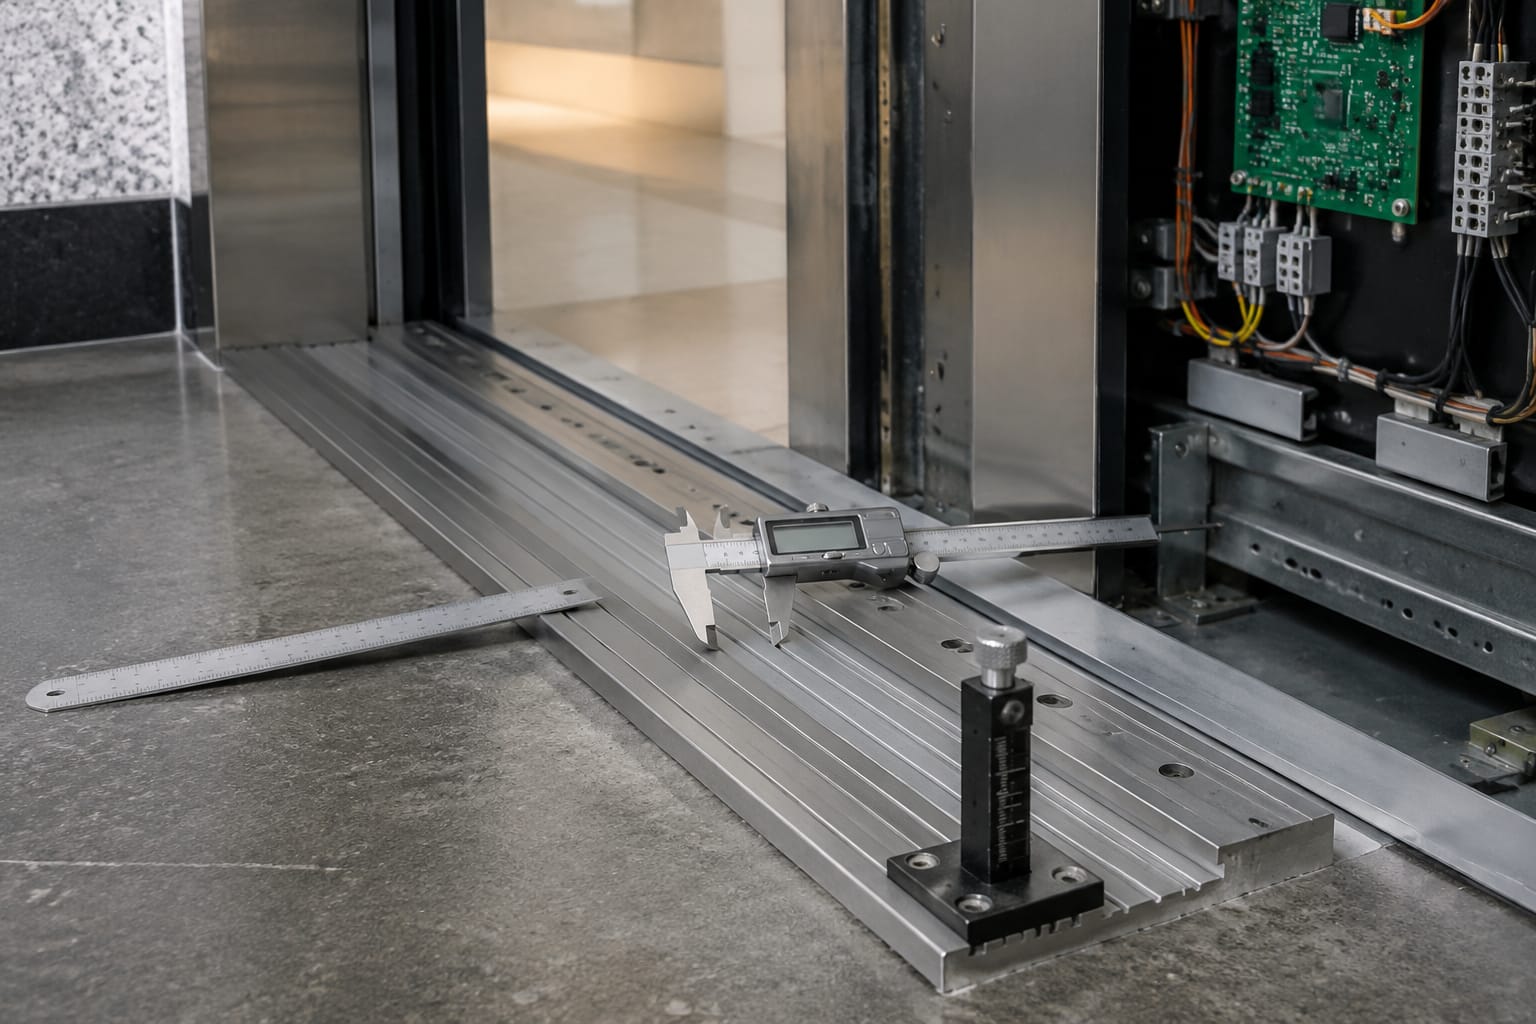
Essential measurement checklist
Record these details:
- Whether the part is a car sill or a landing sill
- Total sill length, including any end features or cut-outs
- Overall width and thickness
- Number of grooves
- Width and depth of each groove
- Centre-to-centre distance between grooves
- Distance from a reference edge to the first groove
- Fixing-hole quantity, diameter, type and exact centre positions
- Countersink or counterbore details where applicable
- End profile, jamb interface and any stepped sections
- Existing door opening type and number of panels
- Door-shoe dimensions, material and engagement depth
- Lift or door-system make, model and any available component markings
Use a rigid steel rule, vernier calliper or suitable measuring equipment for critical profile dimensions. For long sills, measure at more than one point. A sill may be worn or distorted locally, so a single reading can be misleading.
Compatibility checks before ordering
A new sill must fit mechanically and guide the doors correctly. Confirm:
- Profile geometry matches the existing guide-shoe path.
- The sill length and end treatment suit the entrance.
- Fixing points align with the available support or approved drilling arrangement.
- Screw-head style will finish flush and cannot interfere with shoes.
- The installed sill thickness maintains the intended threshold relationship.
- Replacement door shoes are compatible where the existing ones are worn.
- No door modernisation change has altered the original panel or hanger geometry.
Do not order solely by a nominal width, a photograph or an assumed brand cross-reference. A supplier should receive the measurements, clear profile photos and relevant door information. Kelevator supplies multi-brand elevator spare parts for B2B buyers, so a structured measurement record helps a contractor, distributor or sourcing team compare the proposed item against the installed arrangement.
Related door-panel alignment checks
Sill work should include a basic review of the door panels that run over it. The lower guide cannot perform correctly if the panel is tilted, the hanger rollers are worn, or the panel hardware has shifted.
Check that each panel is vertical within the door manufacturer’s applicable adjustment guidance and that the bottom shoe stays properly engaged through the entire travel. Look for unequal gaps, contact with the jamb, panel-to-panel rubbing and a panel that rises or dips as it moves.
The upper hanger assembly requires particular attention. Worn rollers, loose fasteners or a damaged panel hanger can transmit side load into the bottom guide. Where compatible with the door arrangement, inspect the relevant car door hanging panel and door-hanging wheels rather than treating the sill as an isolated part.
Landing doors need the same disciplined check. At an affected floor, compare panel movement with a known good landing where possible. An appropriate door hanging panel with 1000/58 door-hanging wheels may be relevant only after confirming the actual hanger dimensions and configuration.
Common mistakes include adjusting a door to mask a bent sill, replacing a sill without renewing damaged shoes, and setting panel clearances only at one end of travel. The panel should be assessed while fully open, mid-travel and fully closed.
Replacement and final door testing
Replace an elevator door sill when cleaning and minor approved corrective work cannot restore a smooth, stable guide path, or when cracks, deformation, major groove wear, loose fixing or unsafe threshold damage is present. Use trained lift personnel and the relevant manufacturer instructions; sill replacement affects door operation and entrance clearances.
A sound replacement process is:
- Verify the replacement profile and all measurements before dismantling.
- Place the lift and doors in the required safe maintenance condition.
- Remove the affected panels or guides only as required by the approved method.
- Remove the old sill carefully and inspect its support surface, fixing threads and adjacent entrance structure.
- Correct approved underlying issues such as damaged supports or unsuitable fasteners before fitting the new sill.
- Install the sill in the correct orientation, with flush and secure fixings.
- Refit or renew compatible guide shoes, then set panel alignment according to the door system’s requirements.
- Check door movement manually where the maintenance procedure permits.
- Restore normal operation and conduct repeated automatic cycles.
Final testing should cover full opening and closing travel, normal closing behaviour, panel alignment, absence of scraping or abnormal vibration, flush fixing heads, correct door-zone operation and the condition of the threshold at the landing. Test the affected entrance under normal operating conditions and observe more than one cycle. For a landing sill, verify that the issue is resolved at that floor; for a car sill, verify consistent operation across representative landings.
A replacement sill restores a guide surface, but it is not a substitute for diagnosing the complete door system. Keep the removed part and recorded measurements until fitment and door performance have been confirmed. For procurement, provide the sill profile, fixing layout, door arrangement and photographs so the proposed part can be checked before purchase.
Related product references
For practical catalog examples related to this topic, review [Aluminum alloy door sill 60mm F type elevator parts](/products/aluminum-alloy-door-sill-60mm-f-type-elevator-parts/), [Car door hanging panel 1000 58 door hanging wheels lift accessories elevator spare parts](/products/car-door-hanging-panel-1000-58-door-hanging-wheels-lift-accessories-elevator-spare-parts/), and [Door hanging panel 1000 58 door hanging wheels lift accessories elevator spare parts](/products/door-hanging-panel-1000-58-door-hanging-wheels-lift-accessories-elevator-spare-parts/). Confirm the exact model, dimensions, ratings, and connectors before ordering.