
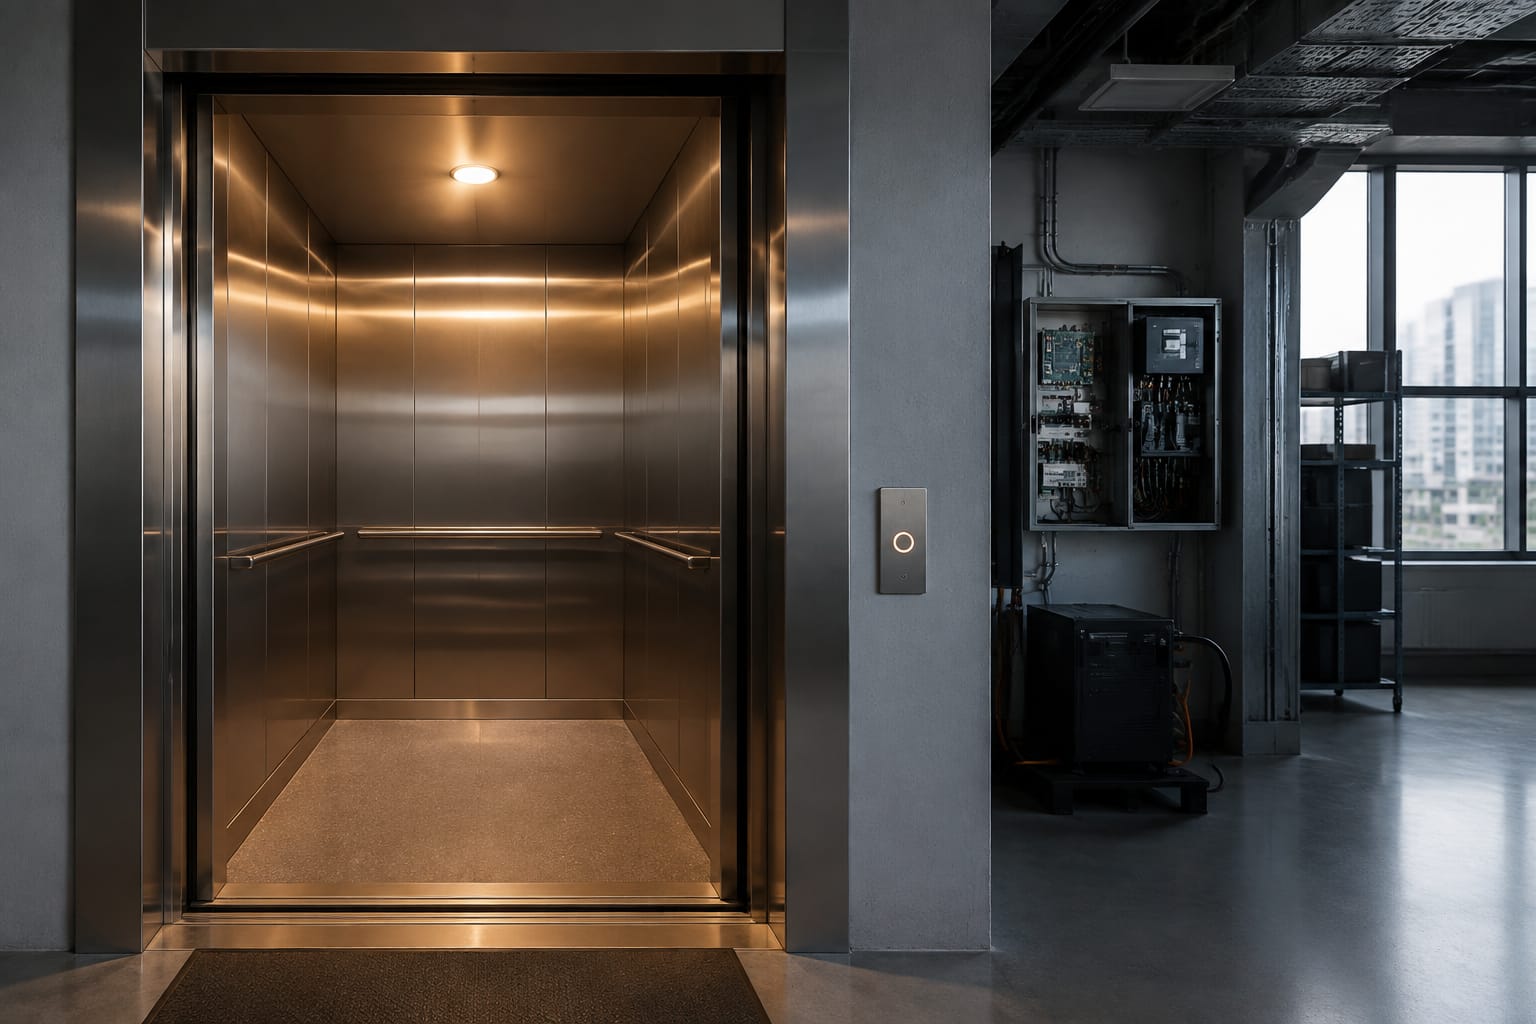
An elevator emergency light should switch on automatically when the normal car lighting supply fails. It relies on a charged battery and a compatible emergency power circuit, so a lamp that works during normal operation is not proof that the backup system will work during a power interruption.
For maintenance teams, the practical priority is to confirm the full chain: incoming supply, charging circuit, battery condition, emergency output, light unit and wiring. Replace components only after identifying which part of that chain has failed.
Purpose of elevator emergency lighting
Emergency lighting gives passengers enough illumination to remain oriented inside the car if mains power to the normal cabin lights is interrupted. It also helps passengers locate the alarm button, intercom or telephone, handrail and exit area while the lift is stationary or moving to its designated emergency position.
The arrangement is usually independent from the main car lighting output. A backup battery is kept charged while the lift has normal power. When the normal lighting supply drops, the emergency light circuit changes over to battery-backed operation.
This function matters during more than a complete building blackout. Emergency lighting may also be needed when there is:
- A failed cabin lighting transformer or power supply
- A loose lighting connection in the car-top junction box
- A tripped protective device affecting the lighting circuit
- A controller or travelling-cable fault that removes the normal light feed
- An isolated lift during servicing, where applicable procedures require lighting to remain available
Emergency lighting is not intended to make the car fully bright or replace normal passenger lighting. Its role is to provide usable visibility for the required backup period specified by the lift manufacturer, building requirements and applicable project documentation.
Light units, batteries, and power supplies
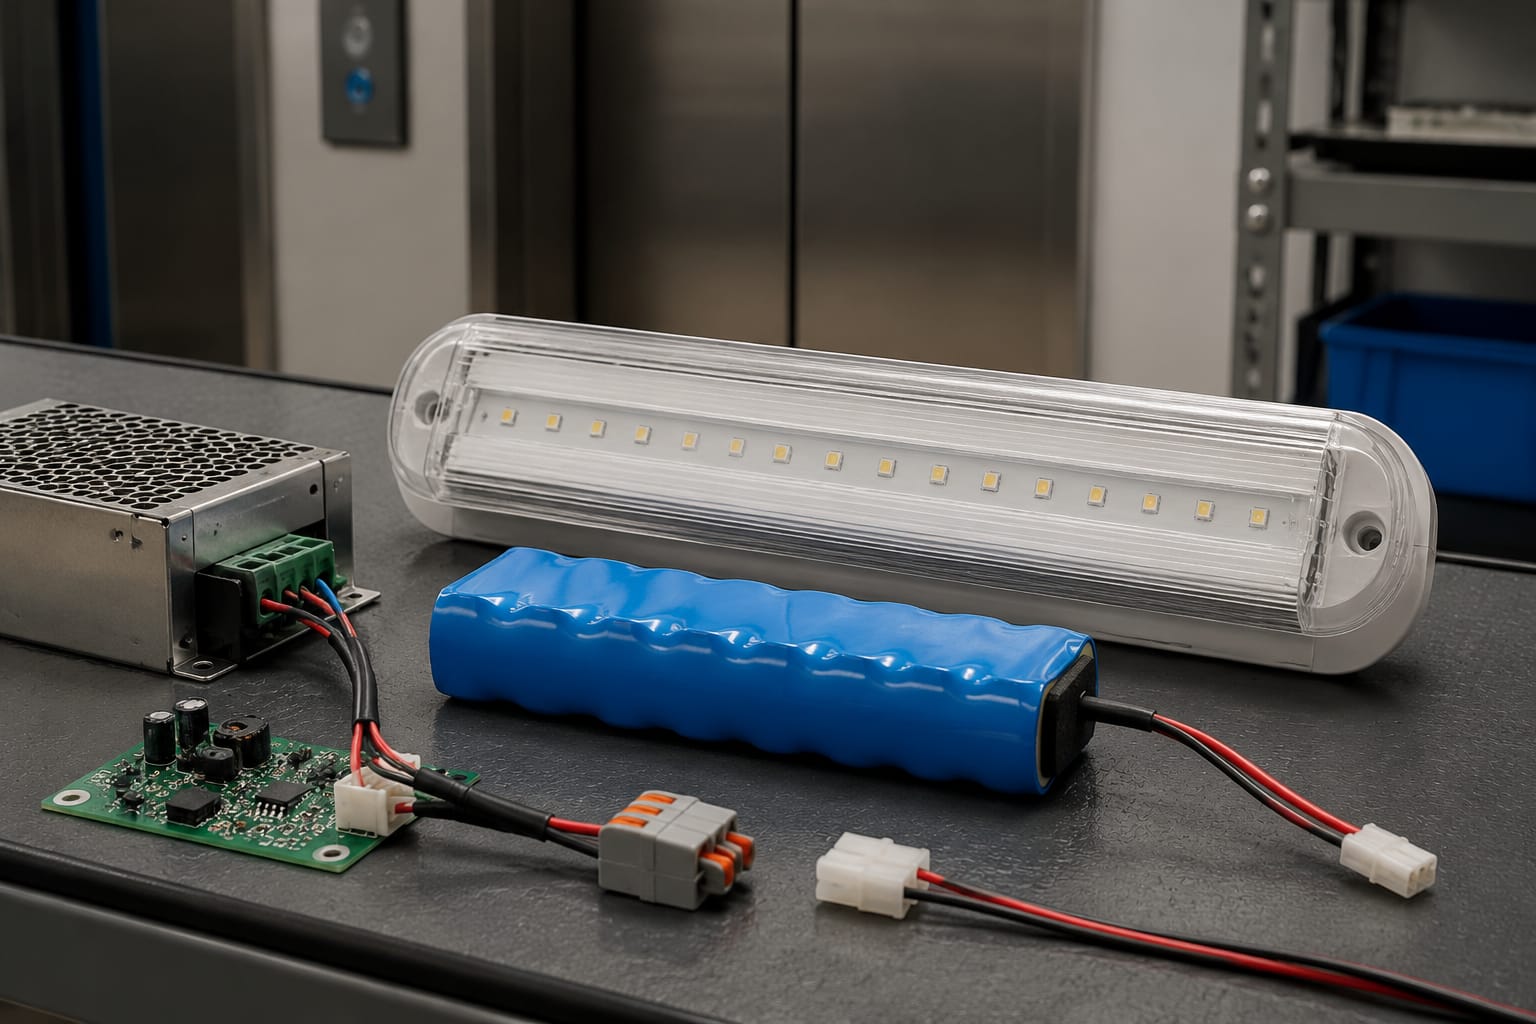
An elevator emergency light assembly is commonly made up of three connected elements: the light unit, a rechargeable battery and an emergency lighting power supply or charging module. In some lift designs, these are separate serviceable items. In others, they are integrated into one enclosed unit.
Emergency light unit
The light unit may use LEDs, though older installations can use other lamp technologies. LEDs generally draw less current, but the correct replacement still depends on more than lamp type. Check the rated DC voltage, polarity, connector, mounting dimensions and intended application.
A failed LED board or lamp may show no light even when the battery and supply module are healthy. Conversely, fitting a light rated for the wrong voltage can cause dim output, immediate failure or damage to the circuit.
For car-mounted applications, inspect the assembly specifications before ordering a replacement. A [DC 12 V car emergency lighting unit for Otis elevator applications](/products/car-emergency-lighting-dc12v-otis-elevator-parts-lift-accessories/) may be relevant only where the existing installation, voltage and fitment match. Product naming alone is not sufficient proof of compatibility.
Rechargeable battery
The battery stores energy while normal power is available. It supplies the emergency load after changeover. Battery chemistry, nominal voltage, capacity, terminal arrangement and charging requirement vary by system.
Battery condition often determines whether emergency lighting works for more than a few seconds. A battery can show a reasonable open-circuit voltage but still lose voltage rapidly when the lamp is connected. This is why a measured load or functional-duration test is more useful than a voltage reading alone.
Do not substitute a battery merely because it physically fits. Confirm:
- Nominal voltage and permitted charging voltage
- Battery chemistry specified by the original unit
- Capacity or manufacturer-approved capacity range
- Terminal type, polarity and lead length
- Physical dimensions and enclosure clearance
- Date code, visible damage and signs of leakage or swelling
Emergency lighting power supply
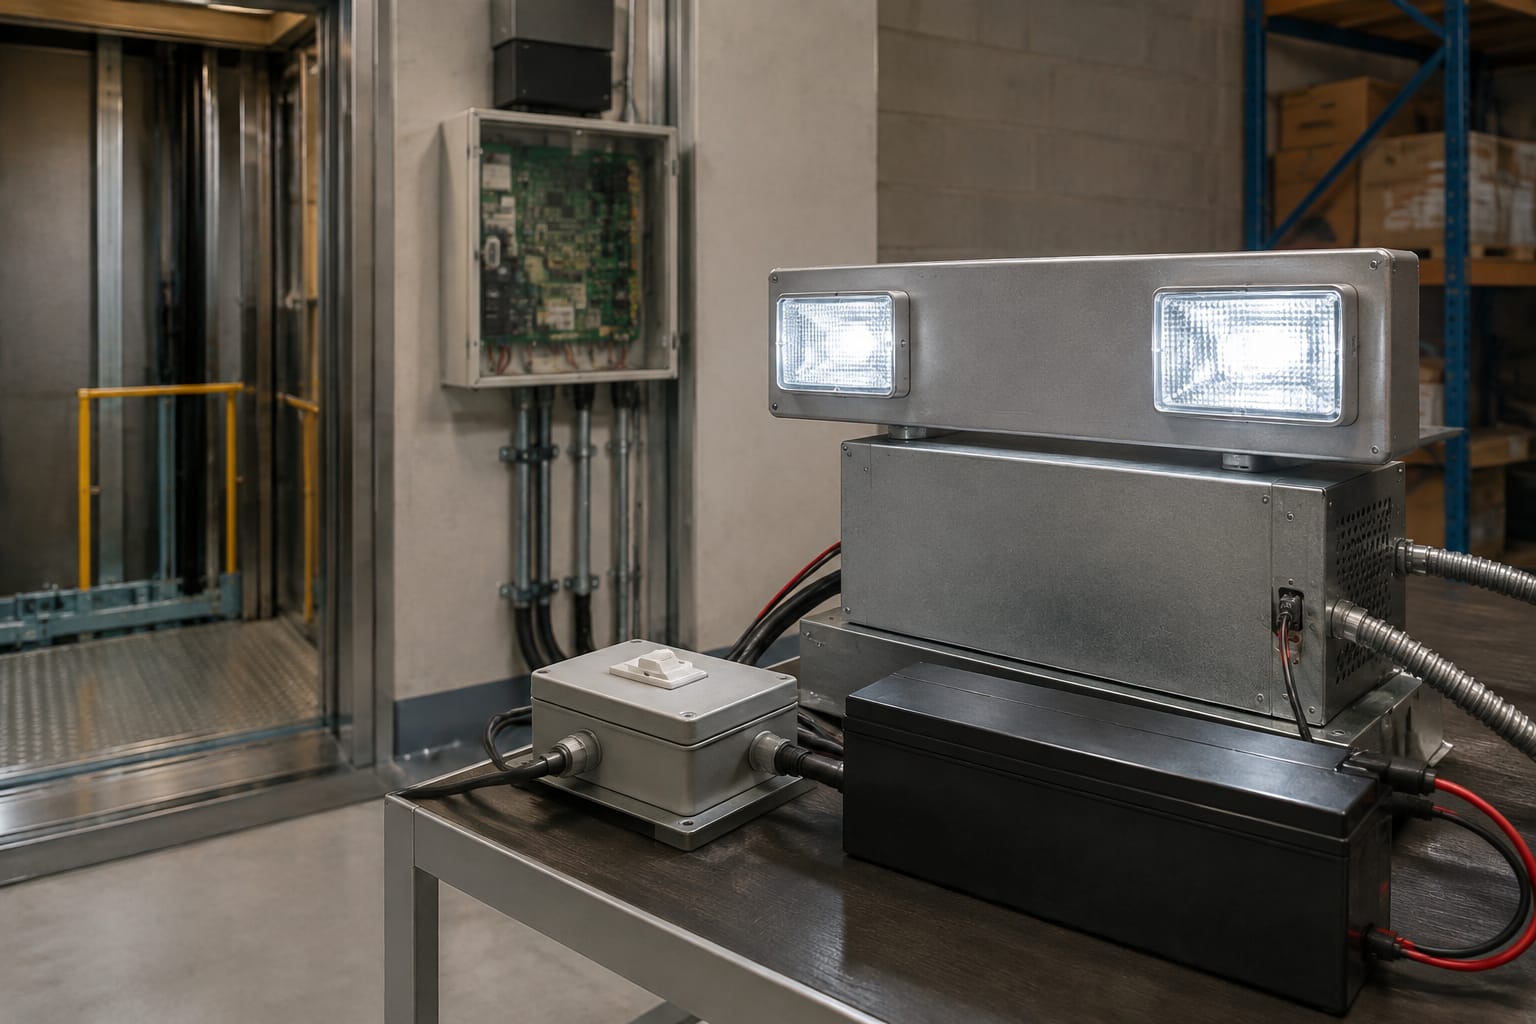
The emergency lighting power supply accepts the normal input, charges the battery and provides or switches to the required output for the emergency lamp. Depending on the lift design, it may be described as a charger, battery backup module, emergency light supply or emergency power supply.
A fault in this module can prevent battery charging even though normal cabin lighting remains available. It may also fail to transfer to battery power when the normal input is lost.
When sourcing a separate unit, compare the electrical ratings and connection details against the existing component. An [emergency lighting power supply for lift applications](/products/emergency-lighting-power-supply-lift-accessories-elevator-spare-parts/) should be assessed against the wiring diagram, input supply, battery requirement, output rating and connector arrangement of the particular elevator.
Normal and emergency operating modes
Understanding the two operating modes makes fault-finding quicker.
| Operating condition | Normal light supply | Battery state | Emergency light behaviour |
|---|---|---|---|
| Lift operating normally | Available | Charging or float-maintained | May be off, or may operate according to car design |
| Normal cabin-light supply interrupted | Unavailable | Discharging to backup circuit | Must illuminate automatically |
| Supply restored | Available again | Recharges through the module | Returns to normal configured state |
| Battery disconnected or exhausted | May be available | Cannot support backup | Emergency lighting will not operate correctly on loss of supply |
The exact switching logic differs by manufacturer. Some systems keep a dedicated emergency lamp permanently on at a reduced level. Others illuminate it only after a supply failure. Therefore, use the car wiring diagram and the component label rather than assuming the operating behaviour from another lift model.
A functional test normally involves simulating loss of the normal lighting supply by an authorised technician using the proper isolation point. Simply switching off the car light at its local control may not test the actual transfer function and can give a misleading result.
Common emergency-light faults
Emergency-light failures are usually traceable to a degraded battery, charging problem, defective lamp, incorrect replacement part or damaged connection. Start with observation, then measure and test systematically.
Light does not come on during a power interruption
Likely causes include:
- Battery is discharged, disconnected, reversed or at end of service life
- Charging module has no input supply or has failed
- Lamp, LED board or internal driver has failed
- Output fuse, connector or wiring is open
- Changeover circuit is defective
- Test method did not interrupt the supply that the emergency unit actually monitors
Check whether the battery is receiving its correct charging condition when normal lift power is present. Then test battery performance under the emergency light load.
Light comes on but is very dim
A dim emergency light often indicates a weak battery, high-resistance connection or an incorrect lamp load. Corroded terminals, loose crimp joints and poor connector contact can reduce voltage only when current is drawn.
Measure voltage at the battery terminals and again at the light input while the emergency lamp is on. A meaningful difference points to resistance in the leads, fuse holder, connector or switch-over path.
Light operates briefly, then goes out
This is a common battery-capacity symptom. The charger may appear normal, and the light may initially switch on, but the battery cannot sustain the load.
Also check for an oversized or unsuitable replacement lamp. A higher-current load can reduce operating time even with a healthy battery. Fit only the load type and rating intended for the emergency unit.
Battery becomes hot, swollen or leaks
Remove the lift from service as required by the site procedure and treat this as a battery safety issue. Do not continue charging or testing a visibly damaged battery. Follow the battery manufacturer's handling and disposal guidance, and avoid mixing old and new batteries in a multi-battery arrangement.
Emergency light remains on during normal operation
This can be a design feature, so first verify the intended mode from the documentation. If it should switch off under normal supply, possible causes include missing charger input, faulty sense circuit, incorrect wiring after repair or a failed changeover relay/electronic switch.
Check voltage, battery, and wiring
Work on elevator electrical equipment should be performed by competent personnel following the lift manufacturer's procedures and the site's electrical safety controls. Isolate circuits where required, prevent unintended lift movement and use appropriately rated test equipment.
A disciplined check avoids replacing the battery when the actual problem is a missing supply or broken connector.
1. Record the existing component details
Before disconnecting anything, photograph labels and connections. Record:
- Lift make, model and controller information where available
- Emergency unit part number and revision
- Input and output ratings shown on the label
- Battery voltage, chemistry, capacity and terminal arrangement
- Connector type, pin count and wire colours
- Mounting arrangement and available enclosure space
Wire colours are useful clues, but they are not a substitute for the relevant wiring diagram.
2. Inspect before measuring
Look for loose plugs, damaged insulation, trapped wires, overheated terminals, corrosion, moisture entry and blown fuses. Check that the battery terminals are secure and polarity is correct.
On cars using a travelling cable connection to feed the emergency unit, inspect the accessible terminations. Intermittent faults can occur where conductors flex or where terminals have loosened through vibration.
3. Verify the normal input supply
With normal lift power available and safe test conditions established, check whether the emergency power supply receives the input voltage stated on its label or wiring diagram. If the input is absent, trace the upstream fuse, terminal, transformer, control-board output or wiring route.
Do not judge a module as defective until its specified input is confirmed.
4. Check charging and battery voltage
Measure battery voltage at rest, then compare it with the expected condition for that particular battery type and system. The label, manufacturer data or maintenance documentation should define the appropriate values.
Avoid using a generic voltage threshold as a pass/fail rule. Different battery chemistries and charging designs behave differently. More importantly, observe whether the voltage falls sharply when the emergency load is applied.
5. Test under emergency load
Use the approved method to interrupt the monitored normal-light supply. Confirm that the emergency lamp changes over automatically, then observe output brightness and battery voltage during the test.
If the battery voltage collapses quickly, replace the battery with an approved equivalent after confirming that the charging module is operating correctly. If voltage remains stable at the battery but the lamp is dim or off, investigate the output wiring, connectors and light assembly.
6. Recheck the charging circuit after replacement
A new battery can fail prematurely if the charger is overcharging, undercharging or cycling incorrectly. After fitting a battery, restore normal supply and verify the charging condition according to the original component requirements.
Match replacement power supplies
A replacement emergency power supply must match the elevator's electrical and mechanical interface. Selecting only by lift brand or a visually similar enclosure is a frequent cause of repeat faults.
Use the following comparison points before placing an order.
| Compatibility item | What to verify | Why it matters |
|---|---|---|
| Input supply | AC/DC type, voltage, frequency where applicable | Incorrect input can prevent operation or damage the unit |
| Battery interface | Battery voltage, chemistry, charging profile and terminals | Unsuitable charging reduces battery life or creates a safety risk |
| Emergency output | DC voltage, current capacity, polarity and lamp load | Ensures the light receives the correct power |
| Switching arrangement | Transfer logic, control/sense terminals and normal mode | Determines whether the light changes over correctly |
| Connectors and wiring | Plug type, pinout, wire positions and cable lengths | Prevents misconnection and unnecessary rewiring |
| Physical fitment | Mounting holes, dimensions, ventilation and enclosure position | Ensures secure installation and service access |
| Documentation | Part number, wiring diagram and model applicability | Provides evidence for compatibility decisions |
A component may be described as suitable for a particular brand family but still need part-number verification. For example, a [Hitachi elevator emergency power supply](/products/emergency-power-supply-hitachi-elevator-parts-lift-accessories/) should be matched to the existing installation details rather than selected solely because the lift carries the same brand name.
For B2B sourcing, send the supplier clear label photographs, part number, voltage details, connector images and the required quantity. Kelevator supplies multi-brand elevator spare parts to B2B importers, distributors, maintenance contractors and OEM buyers; however, the buyer should still confirm electrical and mechanical compatibility for each specific application.
Routine inspection and test intervals
Emergency lighting needs both visual checks and functional tests because standby batteries can deteriorate without obvious external signs. Follow the elevator manufacturer’s maintenance instructions, the building’s maintenance programme and any applicable local requirements for the site.
A practical maintenance programme commonly includes these activities:
- Routine visit: inspect the light lens, mounting, battery enclosure, terminals and visible wiring; note alarms or low-battery indicators where fitted.
- Functional test: simulate the specified loss of normal lighting supply and verify automatic illumination.
- Duration test: run the emergency light for the required backup period stated for that lift or site arrangement, then restore supply and confirm recharge behaviour.
- Post-fault check: test the system after a power event, battery replacement, car rewiring, lighting modification or controller work that may affect the supply path.
Do not run repeated long battery-discharge tests without allowing the battery to recharge fully as specified. Repeated deep discharge can complicate diagnosis and may shorten the useful life of certain battery types.
Maintain a service record with the test date, starting condition, result, observed duration, replaced parts, measured values where relevant and technician remarks. Records help identify batteries that are gradually losing capacity and establish whether a recurring fault is linked to wiring, charging or component selection.
Verify operation after repair
A repair is complete only when the system operates correctly in both normal and emergency conditions.
Use this final checklist:
- Confirm the fitted lamp, battery and power supply match the documented ratings and connections.
- Ensure all terminals, fuses, connectors and covers are secure.
- Restore normal power and verify that the battery enters its intended charging state.
- Test normal cabin lighting and confirm no unrelated car circuit has been affected.
- Simulate loss of the normal lighting supply using the approved procedure.
- Confirm the emergency light switches on automatically and provides clear illumination.
- Observe operation for the required test duration or the site-approved verification period.
- Restore supply, confirm normal mode returns and record the work completed.
Do not close the job merely because the emergency lamp lights momentarily. The changeover function, sustained battery output and recharge path must all be verified.
FAQ
Can an elevator emergency light use the normal car-lighting battery?
Only where the lift design specifically provides for it. Many systems use a dedicated emergency-light battery and charger. Connecting to another battery source without the manufacturer’s design approval can affect loading, charging and fault monitoring.
Why does the emergency light work when tested manually but fail in a real power interruption?
The manual test may not have removed the actual supply monitored by the emergency circuit. It can also indicate a transfer-switch fault, weak battery under load or an intermittent wiring connection. Test through the approved power-loss simulation point.
Is a higher-capacity replacement battery always better?
No. Capacity, charging profile, physical size and battery chemistry must suit the original charging circuit and enclosure. Use an approved equivalent or confirm suitability against the power-supply documentation.
Should the emergency lamp and battery be replaced together?
Not automatically. Test both components first. A defective lamp can leave a healthy battery unused, while a weak battery can make a healthy lamp appear faulty. Replace all parts only when inspection and testing support that decision.
For a replacement enquiry, first compile the existing power-supply label, battery details, lamp rating, connector photographs and wiring information. This gives your maintenance or sourcing team the information needed to compare compatible elevator emergency light parts accurately.