
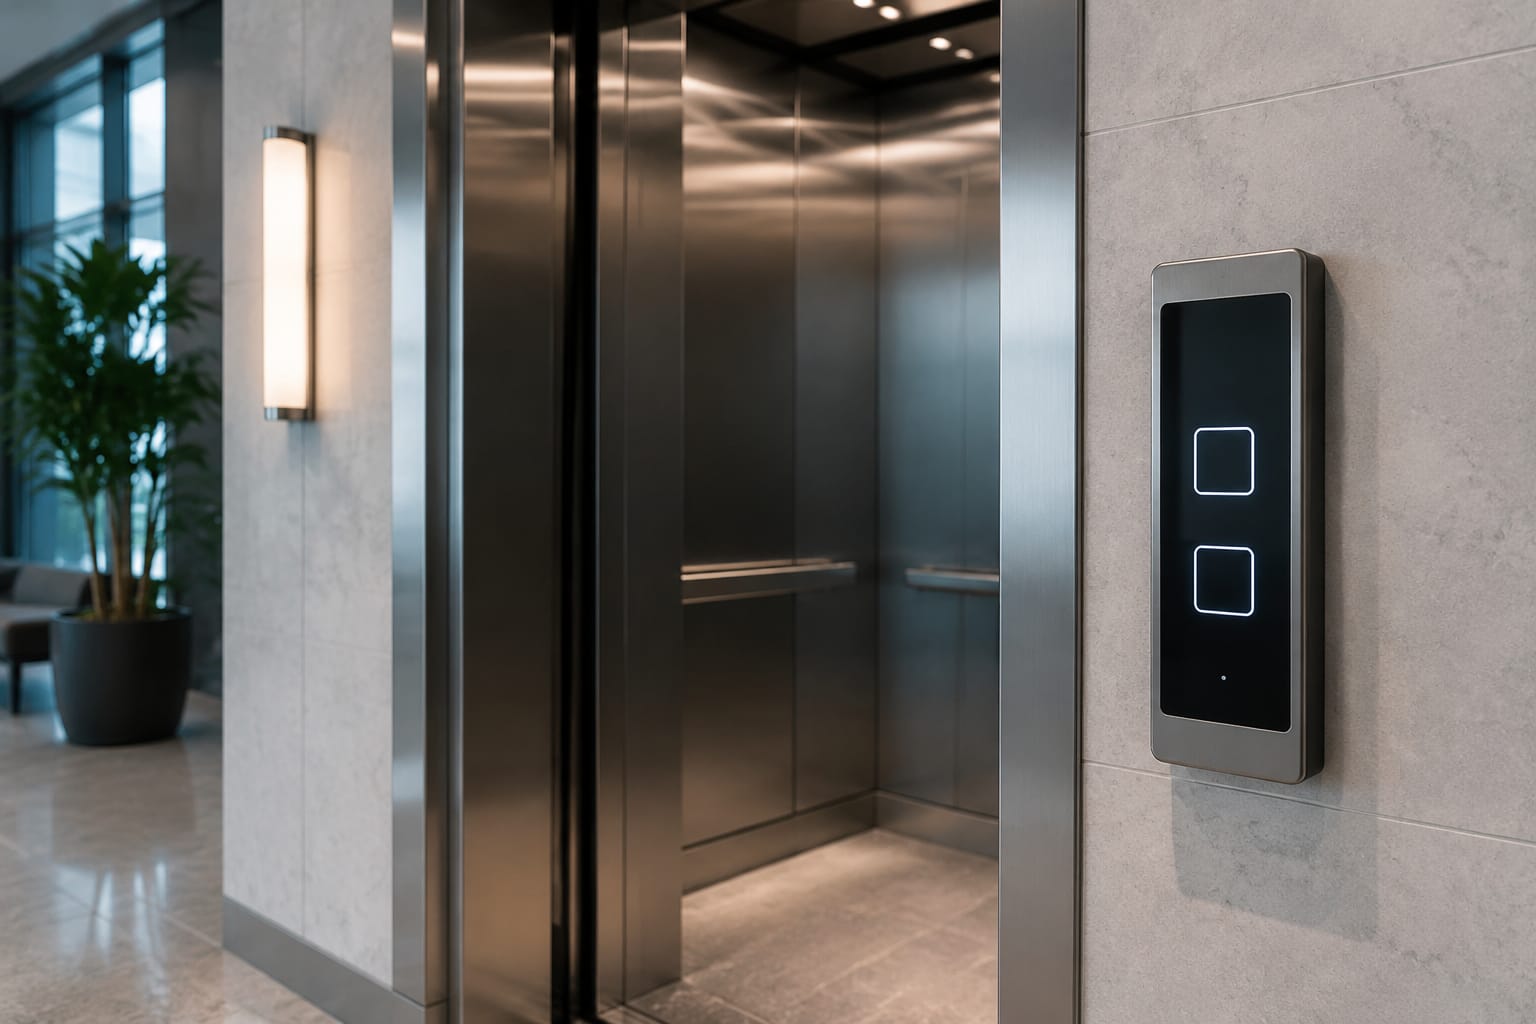
An elevator touch panel can improve the appearance, cleanability and user experience of a lift, but it is not a universal replacement for a mechanical push-button panel. The correct choice depends on the existing controller, communication method, landing fixture wiring, accessibility needs and the building's emergency-operation requirements.
Before ordering a replacement or planning a modernisation, identify whether the panel is a simple touch-button board, an integrated display-and-button assembly, or a controller-specific destination or multimedia interface. A physically similar panel can still be electrically or protocol-incompatible with the lift.
How elevator touch panels work
An elevator touch panel uses capacitive sensing, optical sensing or a similar electronic method to detect a finger press. Instead of a moving mechanical contact beneath every button, the panel electronics detect the touch, confirm it visually or audibly, and send a call request to the lift controller.
In a conventional collective-control lift, a passenger touches a floor icon or number inside the car. The car operating panel sends that request to the controller, which registers the call and serves it according to its operating logic. Landing panels work similarly for up and down calls.
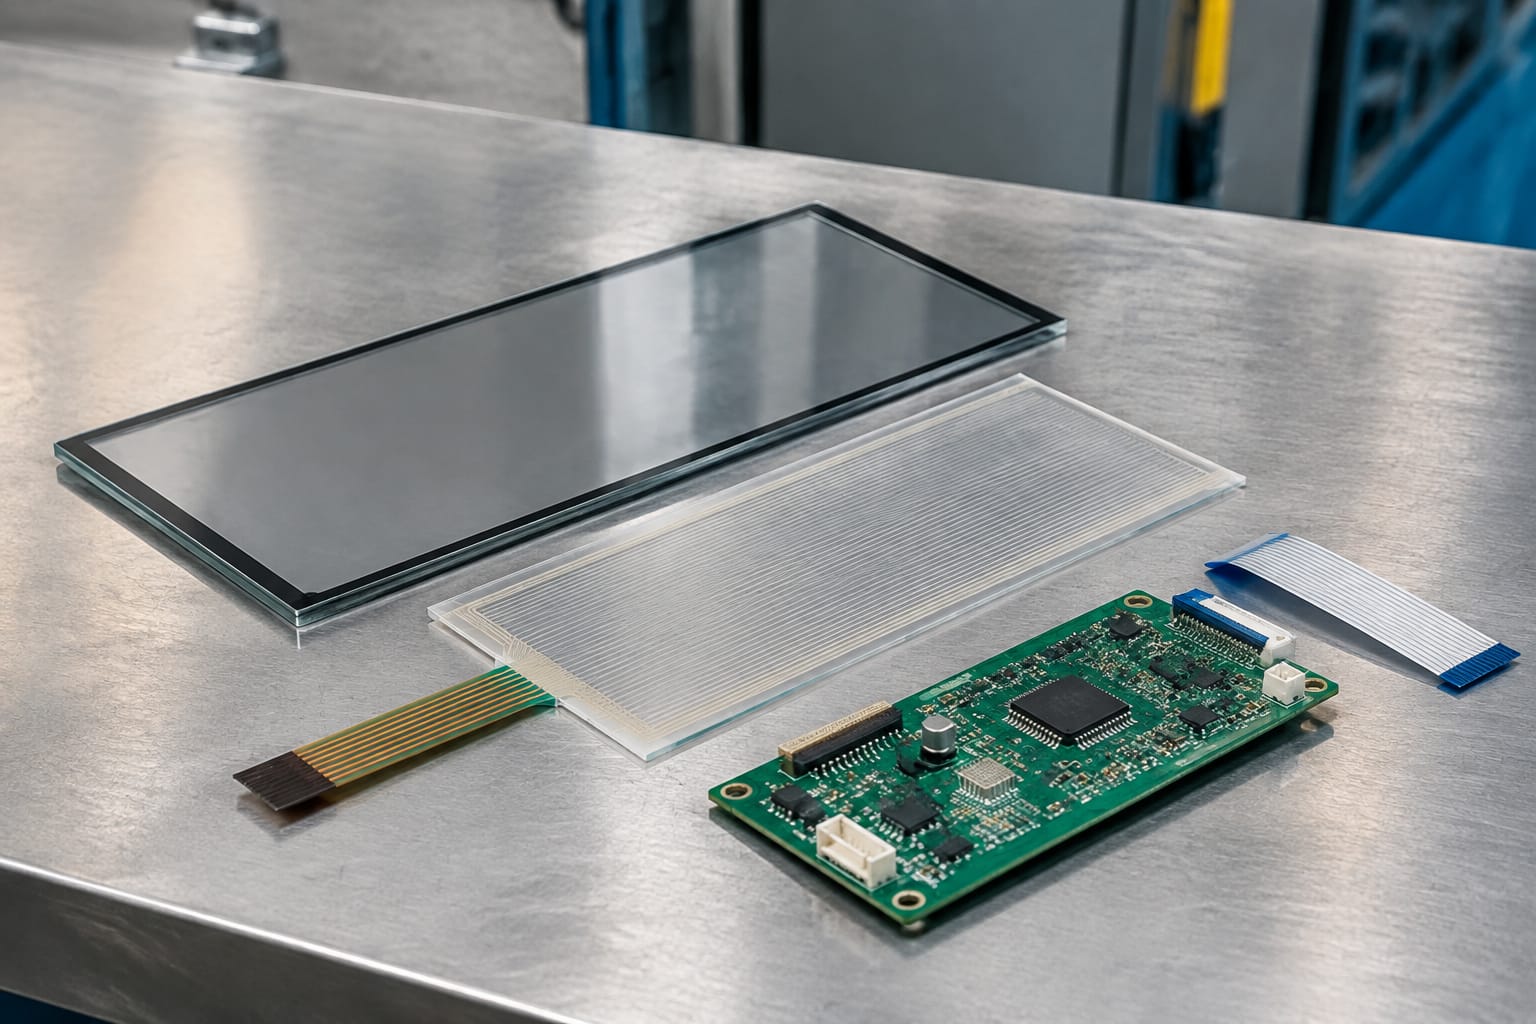
The assembly commonly includes:
- A glass, acrylic or printed front surface with floor markings and icons.
- Touch-sensor electrodes or a touch-button board.
- Indicator LEDs, backlighting, a buzzer or voice-announcement interface where specified.
- A local control board that interprets touches.
- A wiring harness or communication interface to the car controller.
- In some designs, a display for floor position, direction, messages or fault information.
Touch technology does not remove the need for reliable lift control logic. The panel is the passenger interface; the lift controller still manages door operation, travel, levelling, safety-chain conditions and normal service.
For a replacement assembly, obtain the existing panel's part number, connector layout, supply voltage, wiring diagram and controller make before selecting an alternative. This is particularly important in older installations where previous repairs may have altered the original wiring.
Touch buttons versus mechanical buttons
Touch and mechanical buttons can both be suitable in commercial and residential lifts. The choice should reflect operating conditions, maintenance capability and the level of interface change planned.
| Factor | Elevator touch panel | Mechanical push-button panel |
|---|---|---|
| Passenger experience | Flat, contemporary interface with flexible illumination and graphics | Familiar tactile press and visible moving response |
| Surface cleaning | Smooth face is generally easier to wipe | Button gaps and bezels require more detailed cleaning |
| Tactile feedback | Depends on sound, light or haptic design; may be limited | Strong physical confirmation of actuation |
| Accessibility | Must be designed carefully for tactile identification and feedback | Often easier to provide raised markings and tactile response |
| Failure modes | Sensor drift, damaged overlay, board or communication faults | Worn contacts, sticking buttons, damaged lamps or loose terminals |
| Replacement approach | May require exact electronics and controller compatibility | Individual buttons may sometimes be replaced separately |
| Visual customisation | Can support icons, colour states and display integration | Usually limited to button engraving, lamps and fixtures |
When touch buttons are a practical choice
A touch panel can be appropriate when the project calls for a clean, integrated car interior, simple wipe-down maintenance, multilingual visual prompts or a coordinated display interface. It can also suit a modernisation where the car operating panel is being renewed with the controller and fixtures.
For individual component replacement, a compatible board may be more practical than replacing an entire car panel. For example, source teams evaluating compatible spares can compare an [ID elevator touch button board 3300 lift part](/products/id-elevator-touch-button-board-3300-lift-parts/) against the installed board's markings, dimensions, terminals and electrical requirements.
Where mechanical buttons remain preferable
Mechanical buttons remain a sensible option in lifts that require obvious physical feedback, have demanding usage patterns, or need straightforward individual-button servicing. They can also be the lower-risk choice where a building wants to retain the current controller and cabling with minimal modification.
Do not assume that a flat touch surface is automatically more durable. Front-panel material, enclosure sealing, cable strain relief, installation quality and availability of compatible spares have a greater effect on service life than appearance alone.
Display and user-interface options
An elevator touch panel may be limited to touch keys, or it may form part of a broader car interface. Specify the user interface around passenger tasks rather than decorative features.
Basic touch-button interface
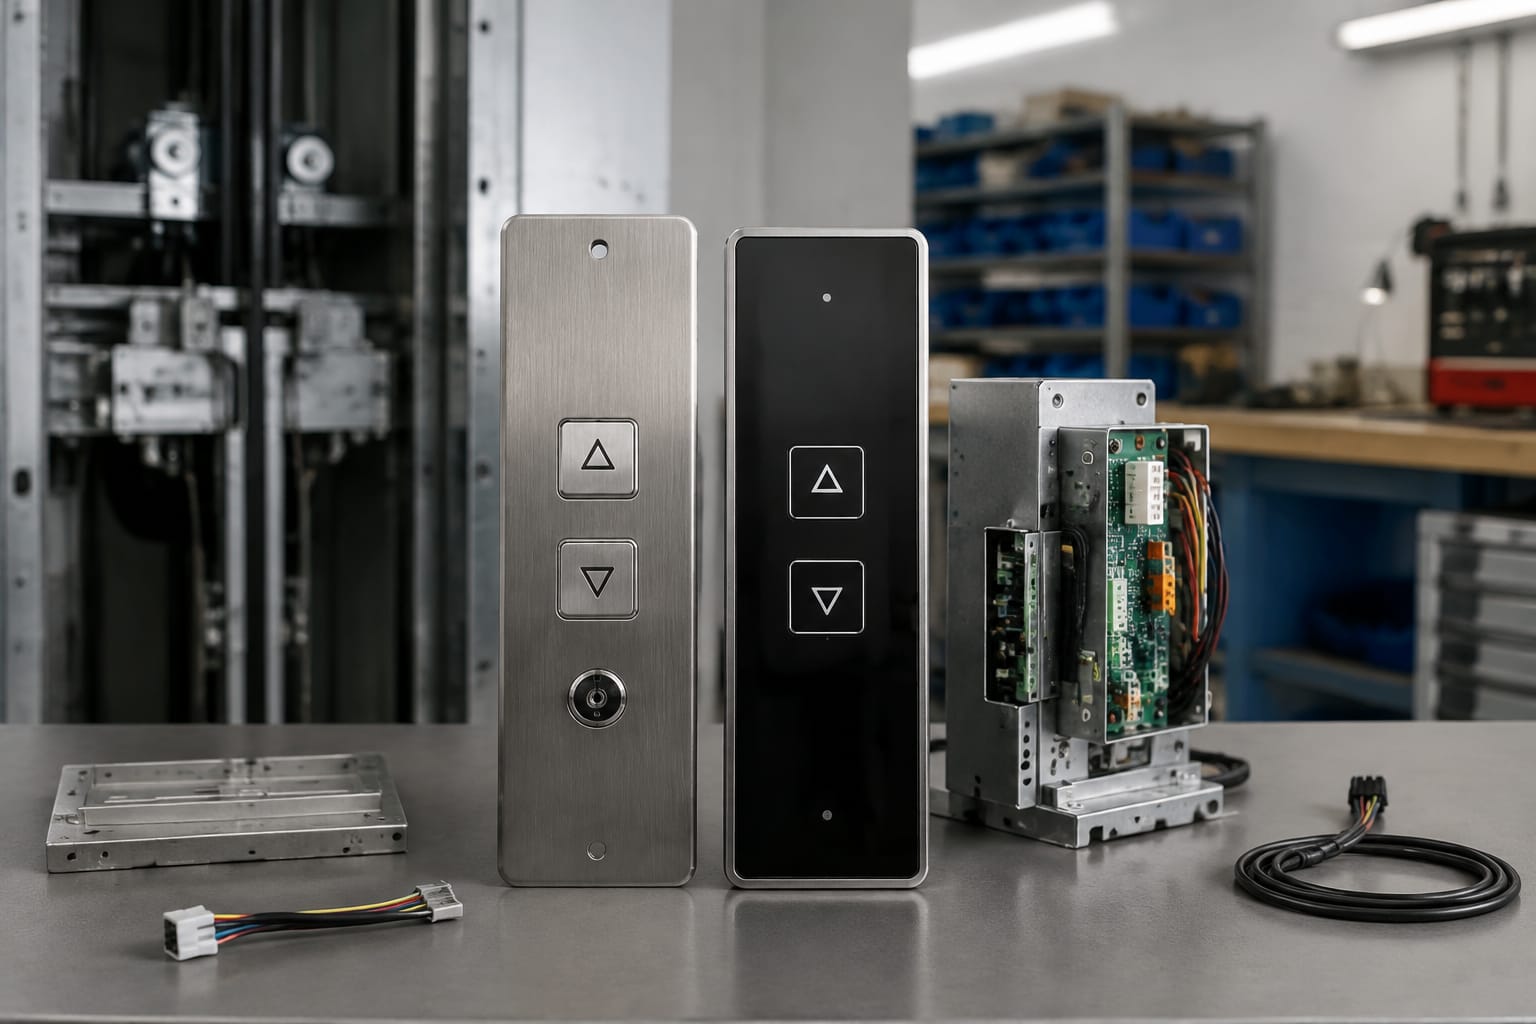
This format replaces floor buttons with illuminated touch zones. It may include door open, door close, alarm and fan or light controls where those functions are part of the original panel. It is usually the simplest touch retrofit, but compatibility still depends on the call-input method and wiring.
Floor-position and direction display
A display can show the current floor, travel direction, door status or selected call. In a busy office, retail or hospital setting, a clear position indicator can reduce uncertainty for passengers waiting or travelling in the car.
Confirm whether the display receives data over serial communication, CAN bus, RS-485 or a proprietary controller network. A display that needs controller data cannot be treated as a simple lamp indicator.
LCD or multimedia interface
Some panels combine floor information with service messages, time, building notices or branded content. These units need a clear division between operational information and optional content: floor position, direction and emergency prompts should remain readable when other media is active.
For controller-specific screen assemblies, evaluate the complete interface rather than only the front appearance. A [Monarch system LCD display panel](/products/monarch-system-lcd-display-panel-lift-parts-elevator-accessories/) is relevant only where the installed system, wiring and communication requirements match the part being assessed.
Destination-control interface
Destination control asks a passenger to select a floor before entering the car, then directs them to an assigned lift. It is a system-level change, not a routine replacement of a car operating panel. It may require changes to landing fixtures, group control, controller programming, access control and passenger signage.
Usability requirements to specify
A well-designed interface should provide:
- Legible floor labels with sufficient contrast under car lighting.
- Clear selected-call confirmation through light, sound or both.
- Consistent placement of door, alarm and emergency-related controls.
- Readable direction and floor indicators from normal viewing distance.
- A layout that does not place frequently used functions too close together.
- An interface that remains understandable during a partial display or backlight fault.
Avoid glossy finishes with poor contrast, tiny floor labels, overloaded screens and decorative animations that delay or obscure operational information.
Common touch-panel fault symptoms
Many apparent touch-panel faults originate outside the panel. A structured diagnosis prevents unnecessary part replacement and helps identify wiring, supply or controller issues.
| Symptom | Likely causes to investigate | First checks |
|---|---|---|
| One floor selection does not register | Failed sensor channel, damaged overlay, loose connector, controller input issue | Compare response with other keys; inspect connector and input status |
| Several or all keys are unresponsive | Lost supply, disconnected harness, failed local board, controller communication fault | Verify supply at the panel and continuity of the harness |
| Calls register without touch or intermittently | Moisture, contamination, sensor sensitivity issue, damaged face, poor grounding | Clean and dry the surface; inspect grounding and cable routing |
| Key lights do not illuminate | LED or driver failure, incorrect supply, harness fault, board failure | Check whether calls still register and test the relevant output |
| Display is blank but buttons work | Backlight, display power, display module or data-link fault | Check power rails, connector seating and controller data connection |
| Panel repeatedly restarts | Unstable supply, short circuit, damaged cable, board fault | Measure supply under load and inspect for pinched or damaged wiring |
| Wrong floor indication or garbled data | Incorrect protocol, addressing error, data wiring issue, incompatible display | Confirm controller protocol, settings and termination requirements |
Contamination and moisture
Capacitive touch surfaces can react unpredictably when wet, heavily contaminated or damaged. Cleaning products should be suitable for the panel material and applied to a cloth rather than sprayed directly into panel edges or openings. Water ingress into the car operating panel can affect more than touch sensitivity; it can corrode terminals and damage electronic boards.
Electrical noise and earthing
Touch electronics can be affected by poor earthing, unstable power supplies and electromagnetic interference from poorly routed cables. This is why a fault should not be diagnosed solely from the front-panel symptom. Check the panel supply, grounding arrangement, shield connections where specified, and the separation of signal cables from power wiring.
Physical damage
Cracked glass, lifting overlays, dented panel frames and strained connectors can cause intermittent failures that are difficult to reproduce. Record the condition before removing the panel. In some cases, a complete assembly is safer than attempting an unsupported front-layer repair.
Never bypass an alarm, door-control or emergency function simply to keep a touch panel in service. Isolate the affected equipment and follow the lift manufacturer's procedures and the site's maintenance controls.
Controller and communication compatibility
Compatibility is the decisive issue in elevator touch-panel replacement. Matching the panel size, finish or number of floor labels is not enough.
A conventional panel may present each button as an individual dry contact or voltage input. A newer interface may use a multiplexed board, serial line or proprietary communication network. The controller must understand the signal format, address and message structure produced by the replacement panel.
Confirm these items before purchase
- Controller manufacturer, model and software or firmware information where available.
- Existing panel and board part numbers, including revision labels.
- Car operating panel layout, number of stops and special-function buttons.
- Supply voltage, polarity, current requirement and connector type.
- Whether calls use discrete inputs, a serial bus or another communication protocol.
- Cable count, pinout, shielding and earthing requirements.
- Display communication protocol, if the panel includes a position indicator.
- Required configuration, addressing or parameter settings after fitting.
- Door-control, alarm and emergency-circuit interfaces.
- Physical dimensions, mounting points, cut-out size and panel depth.
Photographs are useful, but they do not replace label details and a wiring comparison. Photograph the complete panel, rear connectors, board labels and terminal markings. Keep a record of each wire position before disconnecting anything.
A board range may cover several configurations while still requiring a model-specific check. When considering an [elevator touch button board for 3300 or 3600 configurations](/products/elevator-touch-button-board-3300-3600-lift-parts/), confirm the exact installed variant, connector arrangement and intended controller interface before treating it as interchangeable.
Common compatibility mistakes
The most frequent procurement errors are ordering on appearance alone, assuming equal voltage means equal protocol, overlooking a different connector pinout, and failing to account for floor numbering or special functions. A panel with the correct number of buttons can still be unusable if its controller messages or input logic do not match.
For imports and distribution, request technical documents from both sides of the transaction. The comparison should include the original component's labels and electrical information, not merely a catalogue photograph.
Accessibility and emergency operation
A touch interface must not make the lift harder to use for passengers with visual, mobility or dexterity limitations. Mechanical controls naturally provide a tactile press; a touch design needs deliberate alternatives and feedback.
Consider the following during specification:
- Tactile floor identification, including raised markings or Braille where required by the project.
- Audible confirmation when a call is accepted.
- High-contrast labels and clear illumination.
- Touch targets large enough for reliable selection.
- Predictable positioning of emergency and door controls.
- A visible and accessible alarm function.
- Continued operation of essential emergency functions independent of non-essential display content.
Applicable requirements can vary by building type, local approval conditions, lift design and contract documents. Review the relevant Indian Standards, local authority requirements and the lift system manufacturer's instructions for the installation. Do not presume that a decorative touch-only layout meets accessibility expectations merely because it is electrically compatible.
Emergency operation also needs practical assessment. If a screen fails, passengers must still be able to identify essential controls. If the panel is part of a networked interface, establish how it behaves during communication loss, controller reset or power restoration. The fail-safe response should be defined by the lift system design, not improvised during installation.
Retrofit and modernization planning
A touch-panel upgrade is most successful when treated as a defined modernisation scope. Start with the operational objective: replace failed boards, refresh cabin appearance, improve wayfinding, add display information or migrate to a new controller architecture.
Survey the existing lift
Record the controller type, number of landings, car-panel functions, display type, wiring condition and physical panel dimensions. Identify recurring faults from maintenance records, especially intermittent call registration, display resets or moisture-related issues.
Also inspect the car interior. A new flush panel can require changes to the existing stainless-steel fascia, backing box, mounting studs or cable route. An attractive panel that cannot be mounted securely or serviced safely is not a practical retrofit.
Choose the scope deliberately
There are three common routes:
- Like-for-like repair: Replace the defective touch board or display with a verified compatible part. This has the lowest interface risk when the rest of the system is sound.
- Fixture refresh: Replace the full car operating panel and possibly landing fixtures while retaining the controller. This needs careful input and wiring compatibility checks.
- System modernisation: Upgrade fixtures alongside the controller, display, wiring or group-control system. This offers more design freedom but requires coordinated engineering, commissioning and documentation.
The correct route depends on condition, spare-part support, expected building use and the cost of future maintenance. Do not expand a fault repair into a controller conversion unless the compatibility and commissioning work are properly planned.
Plan installation logistics
Arrange a controlled shutdown and make sure the technician has the wiring documents, mounting hardware, connectors and configuration information before the car is taken out of service. Protect exposed electronics from dust, metal swarf and moisture while working on the panel fascia.
Where a panel design is custom-made, approve the button legend, floor numbering, language requirements, display layout and cut-out drawing before fabrication. Correcting those items after installation can be expensive and can delay return to service.
Testing after installation
Testing should prove more than the fact that the panel lights up. Test every passenger function, relevant operating condition and communication path before handing the lift back to normal use.
Use the lift manufacturer's procedures, site safety process and competent personnel. A practical commissioning checklist includes:
- Verify panel supply voltage, polarity, earthing and connector seating.
- Test every car-call button and confirm the correct floor is registered.
- Test landing calls where fixtures were changed.
- Confirm door open, door close and other authorised controls operate correctly.
- Test alarm and emergency communication functions according to the installed system.
- Check floor-position and direction indications at every landing and in the car.
- Confirm audio prompts, buzzers and illumination where provided.
- Run the car through normal journeys and observe response to multiple registered calls.
- Check operation after a controlled power restoration where permitted by procedure.
- Inspect the panel for loose mounting, sharp edges, trapped wiring and unstable illumination.
- Record installed part numbers, configuration changes and test results.
Do not rely only on a quick button press while the car is stationary. Some wiring, communication and display faults appear only during travel, door cycles or repeated call registration.
FAQ
Can a touch panel be fitted to any existing lift?
No. The panel must be compatible with the controller inputs or communication network, available power supply, wiring, physical mounting and required functions. A complete controller-and-fixture modernisation may be needed where the existing system cannot support the intended interface.
Why does an elevator touch button work only sometimes?
Intermittent operation can be caused by surface moisture or damage, poor grounding, unstable supply voltage, loose connectors, cable faults, sensor-board failure or a controller communication issue. Inspect and test the installation systematically before replacing the panel.
Does a touch panel eliminate the need for mechanical emergency controls?
No. Emergency and accessibility provisions must be assessed as part of the complete lift design. Essential functions must remain identifiable and operable in accordance with the applicable system requirements and site approvals.
What information should be sent when sourcing a replacement board?
Provide clear photographs, existing board and panel part numbers, controller details, supply voltage, connector and wiring information, number of floors, button layout, display type, dimensions and details of the fault. This reduces the risk of receiving a visually similar but incompatible item.
A sound upgrade begins with a documented survey and an exact compatibility comparison. Kelevator supplies multi-brand elevator spare parts for B2B buyers; for any touch-panel requirement, validate the installed system details and required functions before selecting the replacement or retrofit scope.