
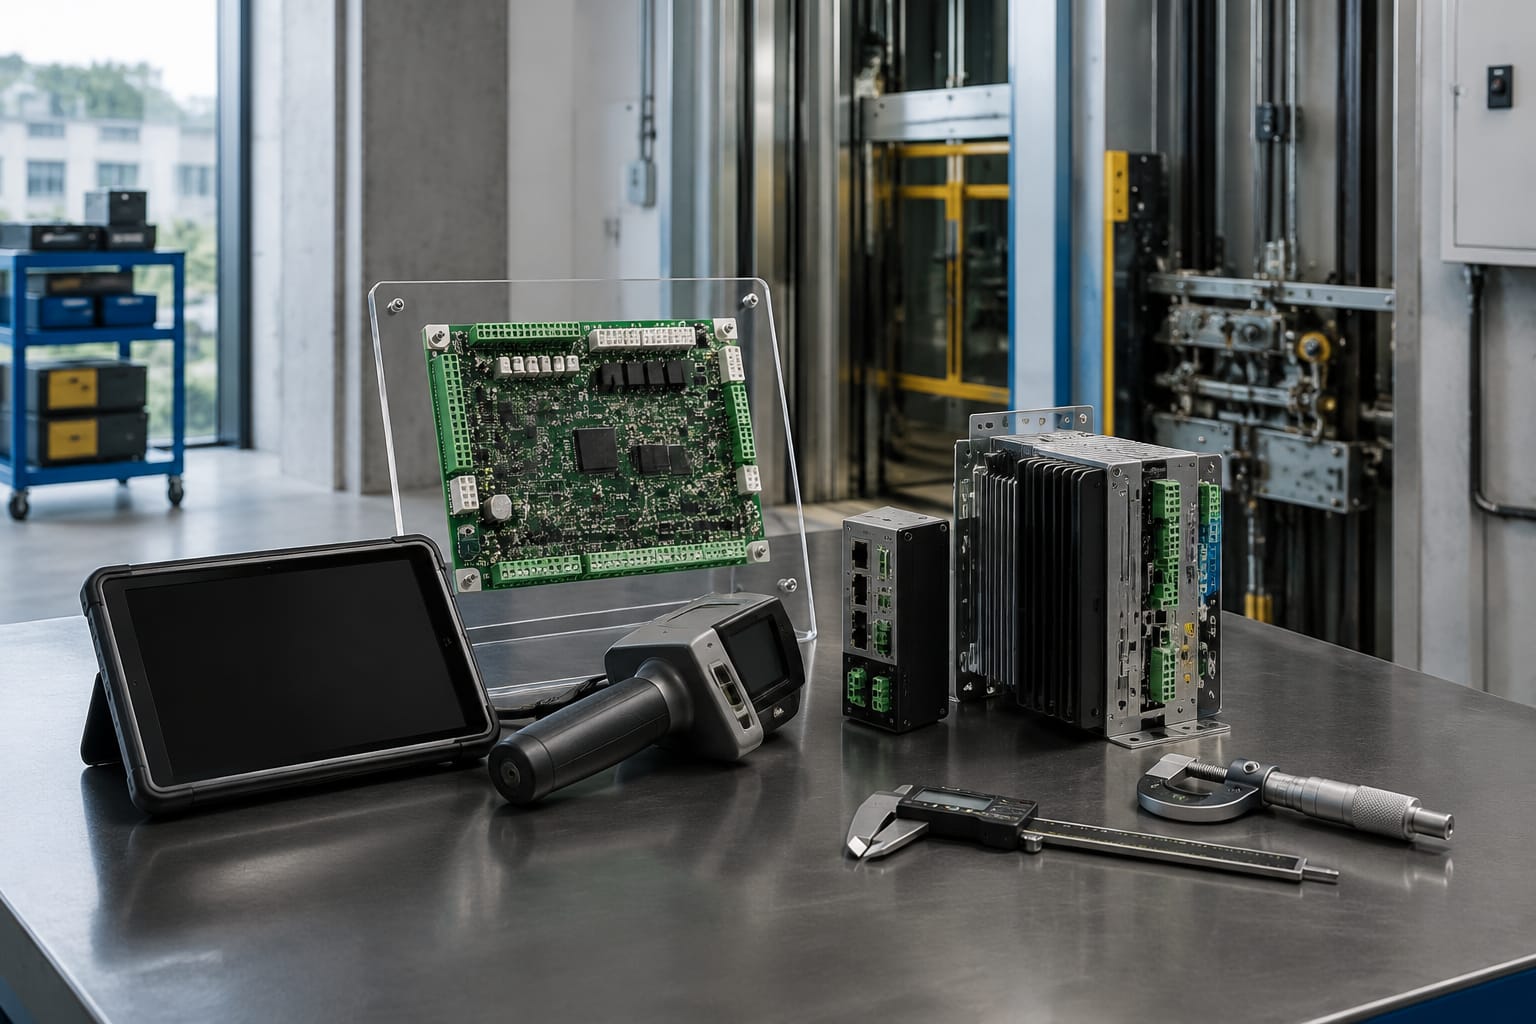
A KONE parts view is useful when it helps you move from “this part looks familiar” to a replacement that can be verified. The reliable method is to identify the lift model and the component’s function, then compare the exact label, board or part code, revision, connector layout and operating context.
Photographs are valuable, but appearance alone is not a compatibility check. Many lift control boards, displays and service devices have similar housings while using different firmware, pin assignments, communication methods or software generations. For maintenance contractors and sourcing teams, the aim is to build an evidence-based match before ordering.
What buyers mean by KONE parts view
When buyers search for a KONE parts view, they may mean one of several things:
- A visual reference to identify an unknown component in a controller cabinet, car operating panel or landing fixture
- A way to find the part number from an image, label or board marking
- A comparison between a failed part and a proposed replacement
- A product image needed to confirm connector positions, display type or mounting points
- A request for a supplier to share front, rear and label photographs before purchase
A useful parts view combines photographs with technical identifiers. An image may establish that a unit is a landing display rather than a car display, for example, but its code and interface determine whether it can work in the installation.
For critical electronic replacements, retain the removed component until the replacement has been inspected and the installation team has recorded all markings. A part sent for disposal too early can remove the best source of compatibility information.
Search by model and component function
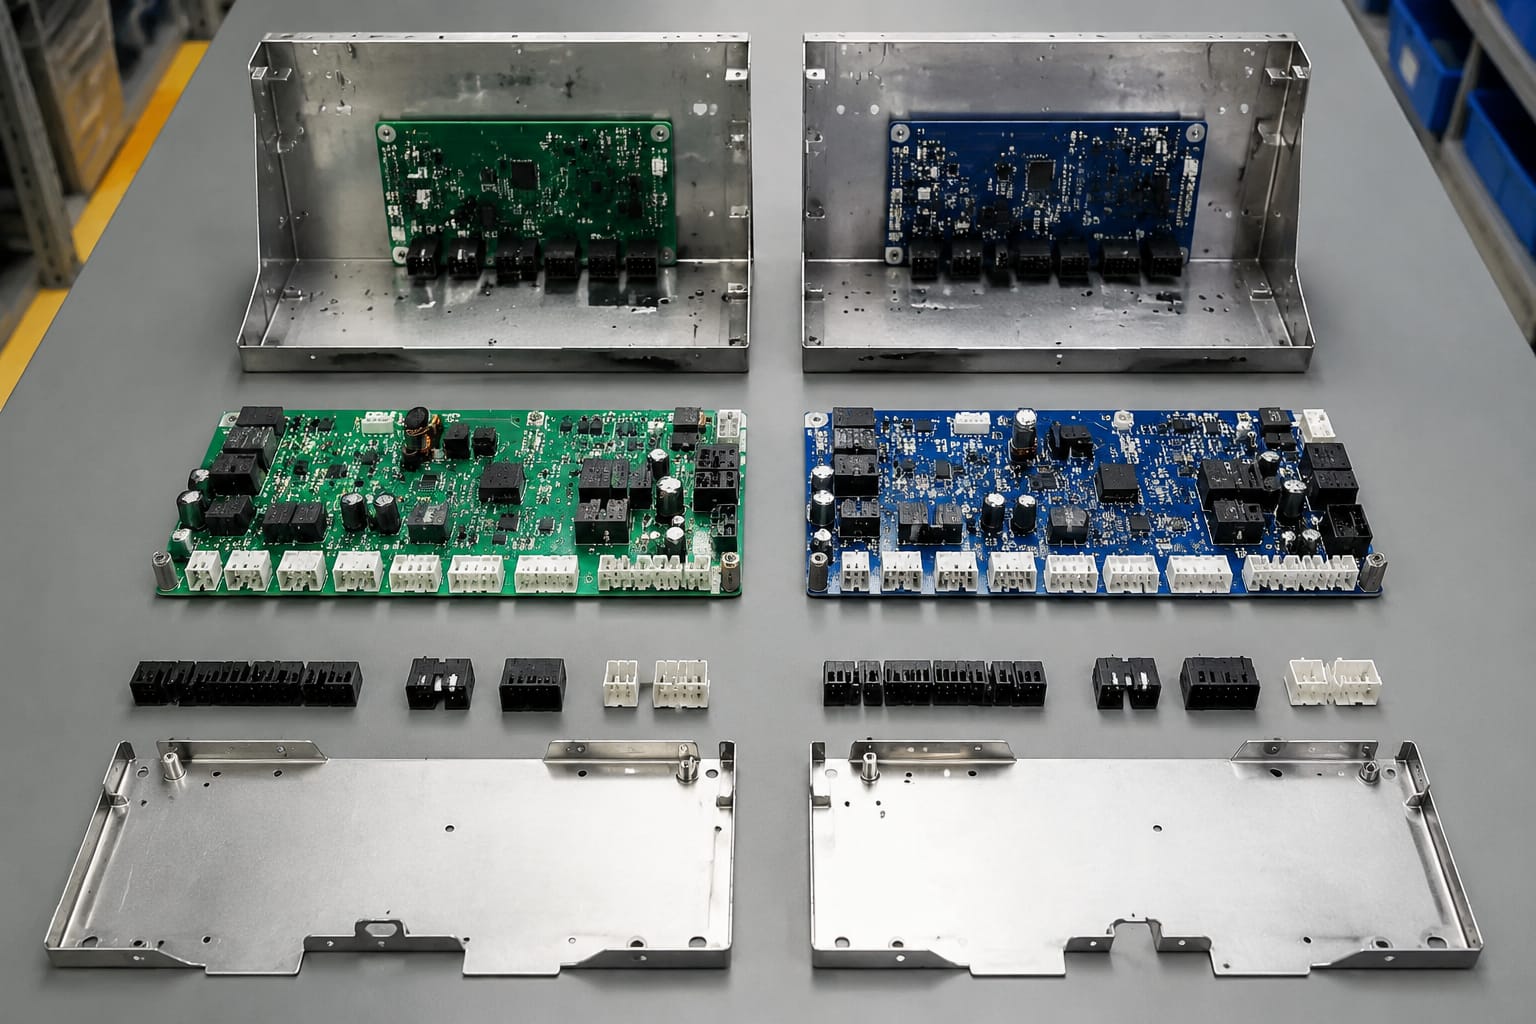
Start with the lift system and the part’s job. This narrows the search far more effectively than searching by colour, shape or a generic name such as “KONE board”.
Record the lift or controller model where it is available from the controller documentation, cabinet marking or service records. Then describe the component by function:
| Component function | Useful starting details | What must still be confirmed |
|---|---|---|
| Main control board | Controller model, board code, cabinet position | Revision, firmware requirements, connectors and configuration |
| Door operator board | Door operator model, motor type, terminal marking | Input/output arrangement, revision and drive compatibility |
| Car or landing display | Location, display format, number of terminals | Protocol, voltage, mounting and direction indication |
| Call button or hall fixture | Fixture type, button layout, installation location | Communication interface, illumination and mounting dimensions |
| Communication board | Controller family, connected devices, port labels | Bus type, address setup, software generation and connectors |
| Inspection or pit accessory | Intended use, enclosure label, terminal arrangement | Wiring diagram, rating, physical fitment and safety function |
| Service tool | Controller generation, tool label and connector | Supported platform, cable type, software or access requirements |
For example, a display showing floor position could be a car-position indicator, an outgoing-call display, a landing indicator or a combined fixture. These can look broadly similar but may receive different data signals. A product listed as a KONE outgoing call display board should therefore be checked against the original board code, display function and connection arrangement before treating it as a replacement.
Where the model is unknown, use the functional description together with all labels visible in the cabinet or fixture. Note the location: machine room, controller, car top, car operating panel, landing panel, door header or pit. Location often helps distinguish otherwise similar items.
Read labels and board codes
The label or printed board code is normally the strongest identifier available. Search and quote the code exactly, including prefixes, suffixes, spaces, hyphens and revision references. A one-character difference may indicate a different hardware version or application.
Check these locations carefully:
- Adhesive label on the front or rear of the unit
- White manufacturer label on a display or fixture housing
- Printed text along the edge of a PCB
- Barcode or serial-number sticker
- Connector-side markings
- Labels inside a protective cover
- Controller wiring diagram or service documentation
Separate each marking when recording it. A serial number identifies one individual unit and is not necessarily the orderable spare-part number. A production date, barcode reference or assembly marking can also be mistaken for the replacement code.
For a board, capture both the label and the silkscreen text printed directly on the PCB. Labels can be missing, damaged or replaced during earlier repairs; the board print may provide an additional, more durable clue. Conversely, a PCB family code may identify only the bare circuit board, while the labelled assembly code identifies the configured, orderable item.
Do not assume that a board is original just because it is installed in the lift. Modernised lifts can contain mixed generations of hardware, and a prior service visit may have fitted a substitute part. Compare the part in hand with the controller documentation and connected equipment where possible.
Compare revision numbers and connectors
Once a matching part number or family has been found, compare the revision and physical interfaces. This step catches many near-matches that a front photograph will miss.
Revision numbers are compatibility evidence
A revision marking may appear as Rev, R, V, a letter suffix or an embedded portion of the part code. It can reflect changes to board layout, components, firmware support or field application. A later revision may be an approved supersession, but that cannot be concluded from the numbering alone.
Ask these questions:
- Does the replacement carry the same revision as the failed unit?
- If it differs, is it documented or represented as a superseding replacement for the same application?
- Does the controller software or associated module need an update or configuration change?
- Is the existing hardware from the same controller generation?
- Is any setup, parameter transfer or commissioning procedure required after replacement?
Treat an undocumented revision difference as a point to investigate, not proof of incompatibility or compatibility.
Connector layout matters more than a similar housing
Compare the front and rear of the item. Count and locate connectors, then verify their keying, pin count and printed designations. Do not rely on whether a plug appears physically capable of fitting.
Check for:
- Connector type, gender, pin count and keyway
- Terminal block positions and screw-terminal numbering
- Socket labels such as power, bus, motor, input or output
- Ribbon cable orientation and locking mechanism
- Jumper links, DIP switches or address selectors
- Mounting holes, clips, stand-offs and enclosure clearances
- Heat sinks, relays or components that affect cabinet clearance
A connector can have the same number of pins yet use a different signal assignment. For that reason, installation should follow the relevant wiring documentation and competent elevator-service practice. Never use connector force, improvised rewiring or pin alterations to make an uncertain substitute fit.
Match displays and communication boards
Displays and communication boards deserve additional scrutiny because their visible function can conceal different interfaces.
Confirm what the display is meant to show
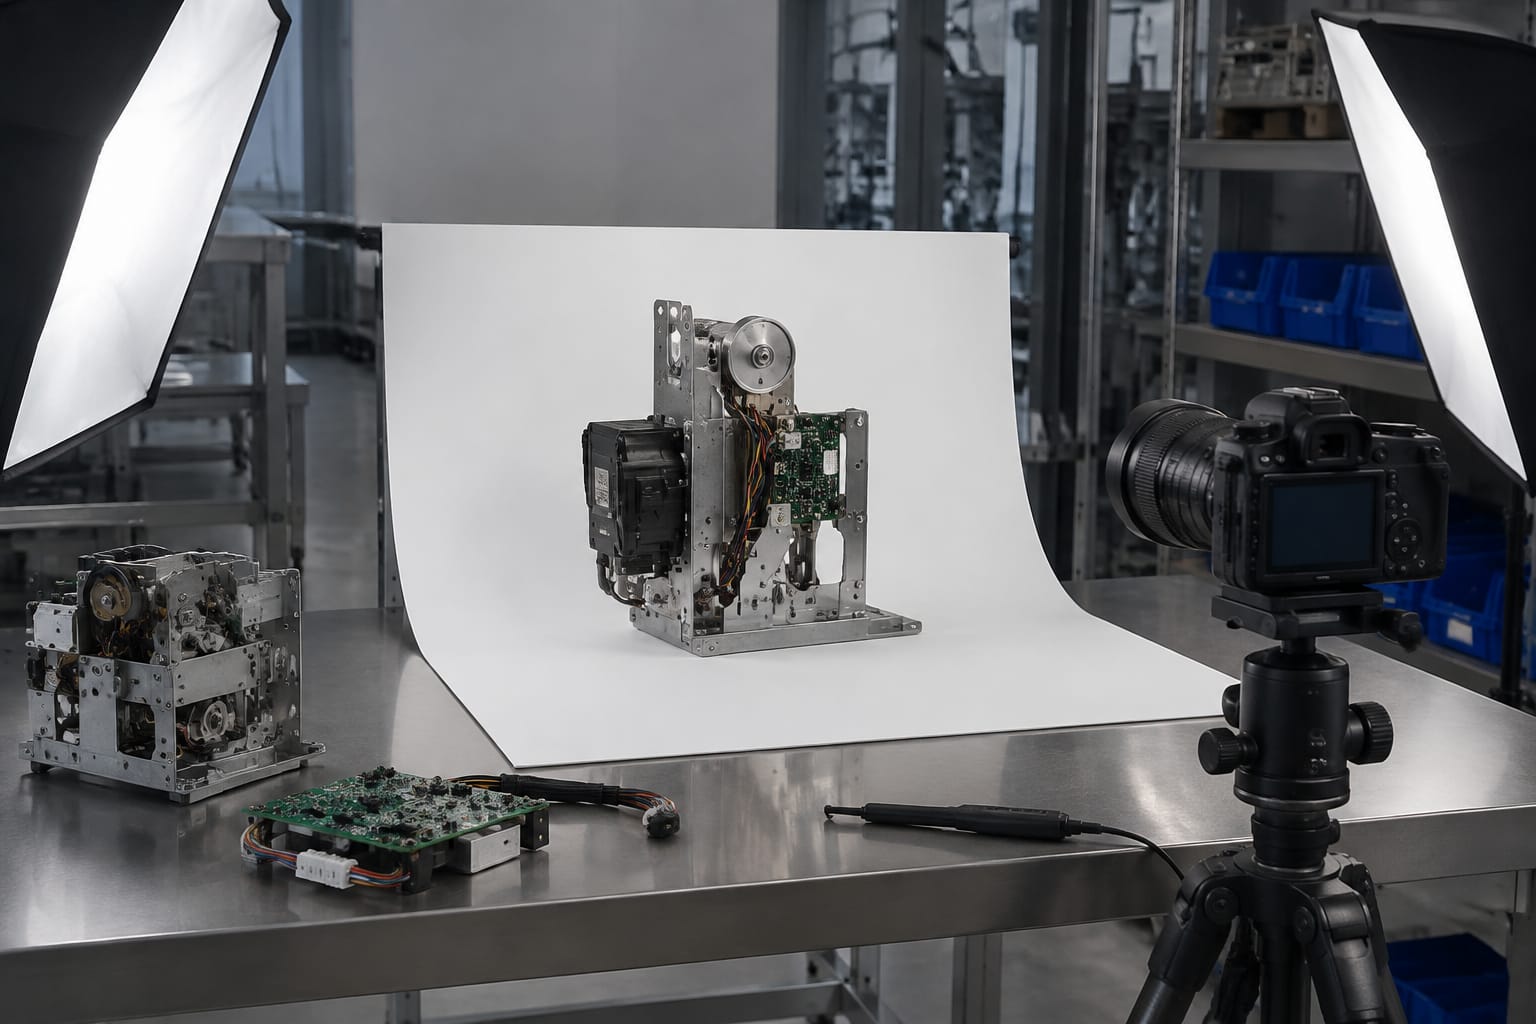
Record the display’s position and intended indication:
- Car position and direction display
- Landing position indicator
- Up/down call acknowledgement
- Hall lantern or arrival direction indication
- Car operating panel message display
- Outgoing-call or destination-related indication
Then compare the display technology and physical form: segment count, dot matrix, LCD, LED colour, window size, bezel dimensions and mounting points. These points matter for fitment, but they are secondary to the electrical and communication match.
A display that lights up after connection may still show incorrect floors, fail to receive direction data or communicate unreliably if the protocol is wrong. Confirm its voltage supply, communication bus, connector code, termination requirements and addressing method where relevant.
Treat communication boards as system-dependent parts
Communication modules commonly sit between the main controller and fixtures, door equipment or other subsystems. A replacement can depend on the controller family, network arrangement, node addressing and software level.
Before selecting one, document:
- The exact board code and revision.
- Every connected plug and its printed connector name.
- The controller model and the board’s installed position.
- LEDs or diagnostic markings, without treating a fault LED alone as proof that the board has failed.
- Any address switches, jumpers or programmable settings.
- Related failures, such as multiple non-responsive landing fixtures or a single failed display.
A failed display may be caused by a supply issue, damaged harness, loose connector, configuration problem or upstream communication fault. Replacing the first visible component without basic fault isolation can lead to an unnecessary purchase.
Identify service tools correctly
The term “service tool” is used loosely in the lift trade. It may refer to a handheld commissioning device, a diagnostic interface, a programming cable, a test lead or a physical inspection accessory. These are not interchangeable.
Identify a service tool by its intended platform, connector, label and supported task. A tool that has a matching plug may still be unsuitable for the controller generation or unavailable for the required diagnostic function. Tool use can also involve controlled software, permissions, training or site procedures, depending on the equipment and task.
When the item is an accessory rather than an electronic diagnostic device, specify the function precisely. For example, a KONE pit inspection box and well-lighting switch should be compared by enclosure arrangement, switch functions, terminals, mounting and wiring requirements. Its role in lift maintenance and safety means compatibility must include the actual installation scheme, not merely its external appearance.
Do not purchase a “universal” tool on the assumption that it will programme or diagnose all KONE equipment. Verify the supported controller family, connection method, intended use and any configuration prerequisites.
Request useful supplier photos
A supplier photograph is most useful when it lets the buyer compare identifiable details. Ask for a consistent photo set rather than a single catalogue-style front image.
Request:
- Clear front view with all labels legible
- Clear rear view showing connectors and terminals
- Close-up of the part label, barcode label and board code
- Close-up of the revision marking
- Images of connector faces and printed connector labels
- Side view showing height, heat sinks, clips or mounting features where relevant
- Photo of included cables, covers, brackets or daughterboards
- Image of any visible repair, damage, corrosion or modification on a used item
For larger items, ask for dimensions only where physical fitment is a real concern; dimensions do not replace checking the part code. For display boards and interface cards, an image showing the connector side is usually more valuable than an image taken through the front cover.
Send the supplier the same evidence you used to identify the old part: label close-ups, full-board images, controller model, part location and required quantity. This allows both sides to compare the same identifiers and reduces ambiguity in the enquiry.
Kelevator supplies multi-brand elevator spare parts to B2B importers, distributors, maintenance contractors and OEM buyers. When requesting a KONE-related replacement, providing this photo-and-code set helps establish whether the item should be evaluated as an exact code match, a documented supersession or an unsuitable alternative. For controller-related components, the KONE elevator parts decoder and operator range may be relevant only after the original code and application have been identified.
Avoid common matching mistakes
The most common error is ordering from a partial visual match. The following mistakes are especially costly because they can result in downtime, return disputes or a part that cannot be commissioned.
Ordering from the product name alone
Terms such as “display board”, “decoder”, “door board” and “inspection box” describe a function, not necessarily a compatible assembly. Use them to narrow the category, then verify code, revision and interface.
Ignoring suffixes and labels
Do not drop a suffix because it seems minor. Record the full identifier exactly as shown. If part of the label is unreadable, state that clearly and support it with front-and-back images rather than filling in the missing characters.
Assuming a newer revision will always work
Later hardware may be a valid replacement, but it can also require a different configuration, matching firmware or companion equipment. Seek confirmation of the replacement relationship for the specific controller and application.
Comparing only the visible side
The connector side often reveals decisive differences. A board with the same front layout but different terminal positions or port labels should be treated as a different candidate until proven otherwise.
Replacing a symptom instead of diagnosing the circuit
A dark display may have a failed display board, but it may also have no supply voltage, a damaged cable, a network issue or an upstream controller fault. Confirm the cause within safe, authorised maintenance procedures before ordering.
Mixing car and landing components
Car fixtures and landing fixtures can have similar styling but use different mounting, data and functional arrangements. Record the exact installation location and what the component does during normal operation.
Sending incomplete enquiry information
“Need this KONE board” with a distant front photograph creates avoidable uncertainty. Include codes, revisions, controller details, connector views and the reason for replacement. State whether an exact match is required or whether an approved supersession can be considered.
A practical matching checklist
Use this checklist before approving a replacement:
- Identify the lift or controller model where available.
- Define the component function and installed location.
- Record every part, board and revision code exactly.
- Photograph the front, rear, label and connector sides clearly.
- Compare connector count, type, keying and printed labels.
- Check mounting, dimensions and physical orientation where relevant.
- Confirm voltage, communication method and configuration needs for electronic parts.
- Investigate the fault cause before treating the component as failed.
- Ask whether a proposed different revision is an applicable replacement for your installation.
- Retain the original part and all evidence until the match is resolved.
FAQ
Can a KONE part be identified from a photograph alone?
A photograph can identify the likely component category and sometimes a visible part number. It is rarely enough by itself for an electronic replacement. The label, PCB code, revision, connector details and controller application should also be checked.
Is the serial number enough to order a replacement?
Usually no. A serial number identifies a particular unit, while an orderable spare is more commonly identified by a part or assembly code. Record the serial number as supporting information, but look for the part number and revision as well.
What should be checked when the original label is missing?
Photograph the entire component, both sides, connector markings and PCB silkscreen text. Note its location, controller model, connected cables and function. Existing service records, wiring diagrams and labels on related modules can help narrow the identification.
Can similar-looking display boards be interchanged?
Not safely by appearance alone. Confirm the display function, voltage, communication interface, connector layout, physical mounting and configuration requirements before considering interchangeability.
A disciplined KONE parts view workflow turns a vague visual search into a traceable replacement decision. Gather the codes and photographs first, compare revisions and interfaces second, and only then evaluate a proposed replacement against the specific lift installation.
Related product references
For practical catalog examples related to this topic, review [KONE Elevator Parts Decoder Unlimited Times Operator lift parts](/products/kone-elevator-parts-decoder-unlimited-times-operator-lift-parts/), [Pit inspection box well lighting switch KONE elevator parts lift accessories](/products/pit-inspection-box-well-lighting-switch-kone-elevator-parts-lift-accessories/), and [KONE elevator parts outgoing call display board lift accessories](/products/kone-elevator-parts-outgoing-call-display-board-lift-accessories/). Confirm the exact model, dimensions, ratings, and connectors before ordering.