
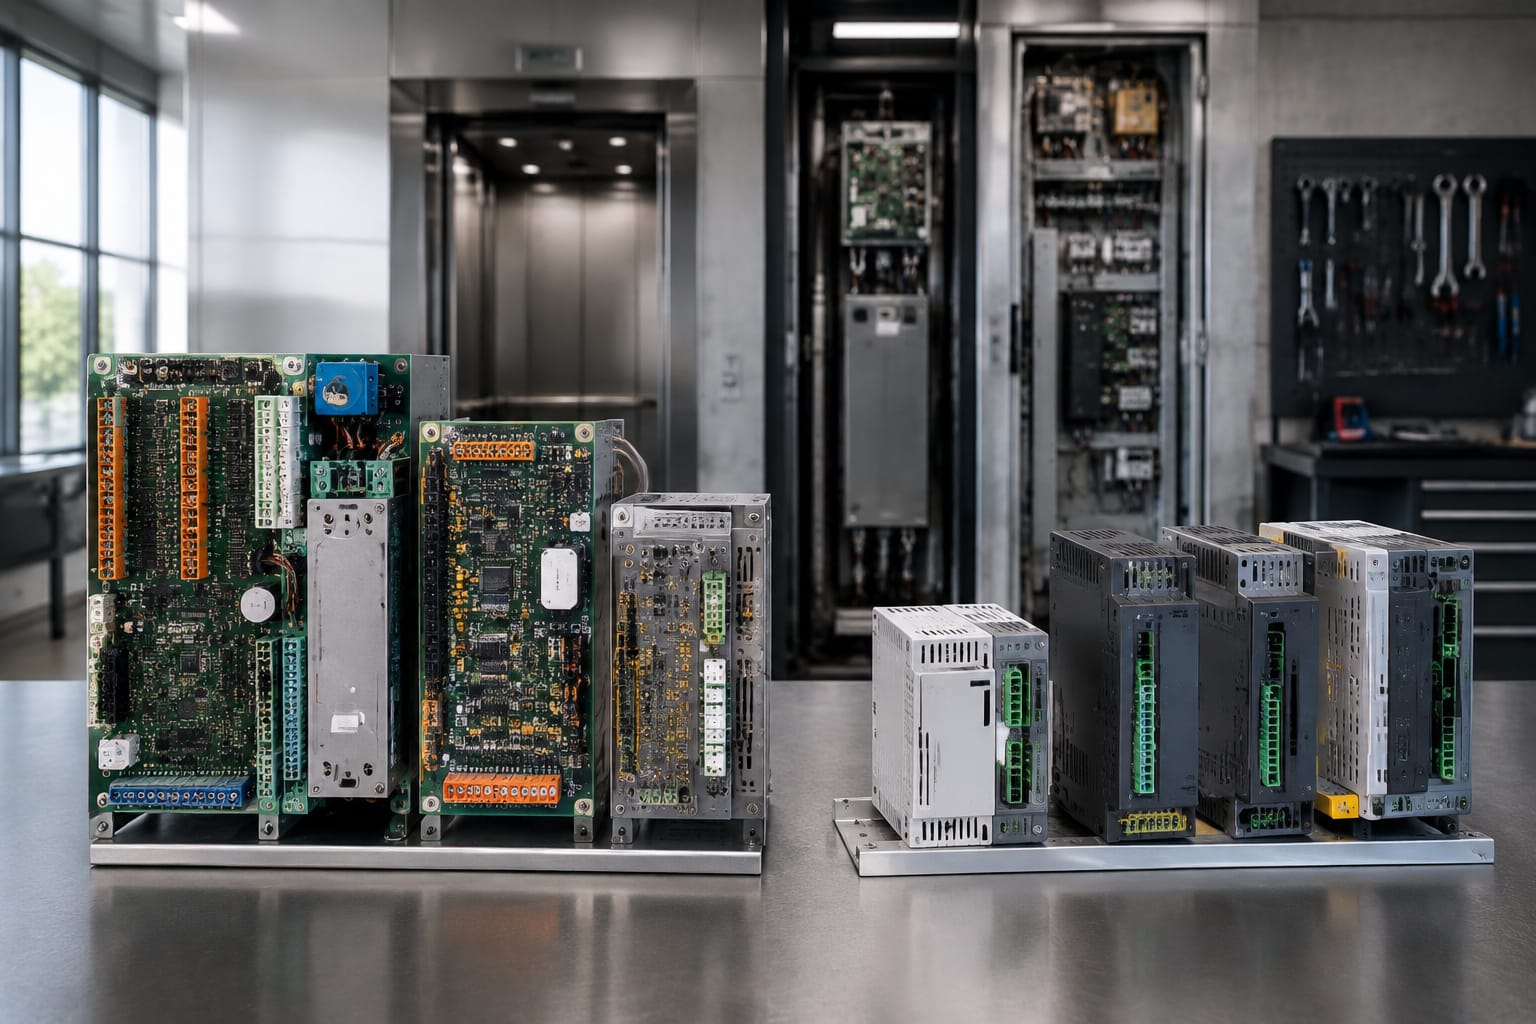
Replacing ThyssenKrupp elevator parts is mainly an identification exercise, not a name-matching exercise. A correct replacement must match the elevator and controller family, original board code, hardware and software revision where applicable, connectors, supply ratings, and the function of the part within the system.
The ThyssenKrupp Elevator brand is now commonly known as TKE in current documentation and supply discussions. However, many installed lifts in India still carry legacy ThyssenKrupp markings, controller labels and part numbers. Record both the old and current identifiers before sourcing a replacement. This reduces the risk of receiving a physically similar board or display that is not electrically or functionally compatible.
ThyssenKrupp Elevator and TKE naming
ThyssenKrupp Elevator parts may be labelled under several naming conventions depending on when the lift, controller or spare was manufactured. In practical maintenance work, a component may show:
- ThyssenKrupp Elevator or ThyssenKrupp branding
- ThyssenKrupp Access or a related legacy business label
- TKE branding
- A manufacturer part number without a clear brand name
- A controller, car operating panel or display-specific code
TKE is the current name associated with the former ThyssenKrupp Elevator business. This naming change does not mean that every part carrying one brand label can replace a part carrying the other. Compatibility still depends on the technical reference and system configuration.
When raising an enquiry for thyssenkrupp elevator parts, include the exact wording from the removed component as well as any controller-family information. A supplier can then assess whether the requested item is the original reference, a documented successor, a repair option, or an unsuitable lookalike.
Do not rely on the building lift's brand plate alone. A lift may have been modernised over time, with a replacement controller, new car operating panel (COP), changed landing displays or third-party door equipment. The label on the individual part is more useful than the label in the lift car.
Identify the elevator and controller family
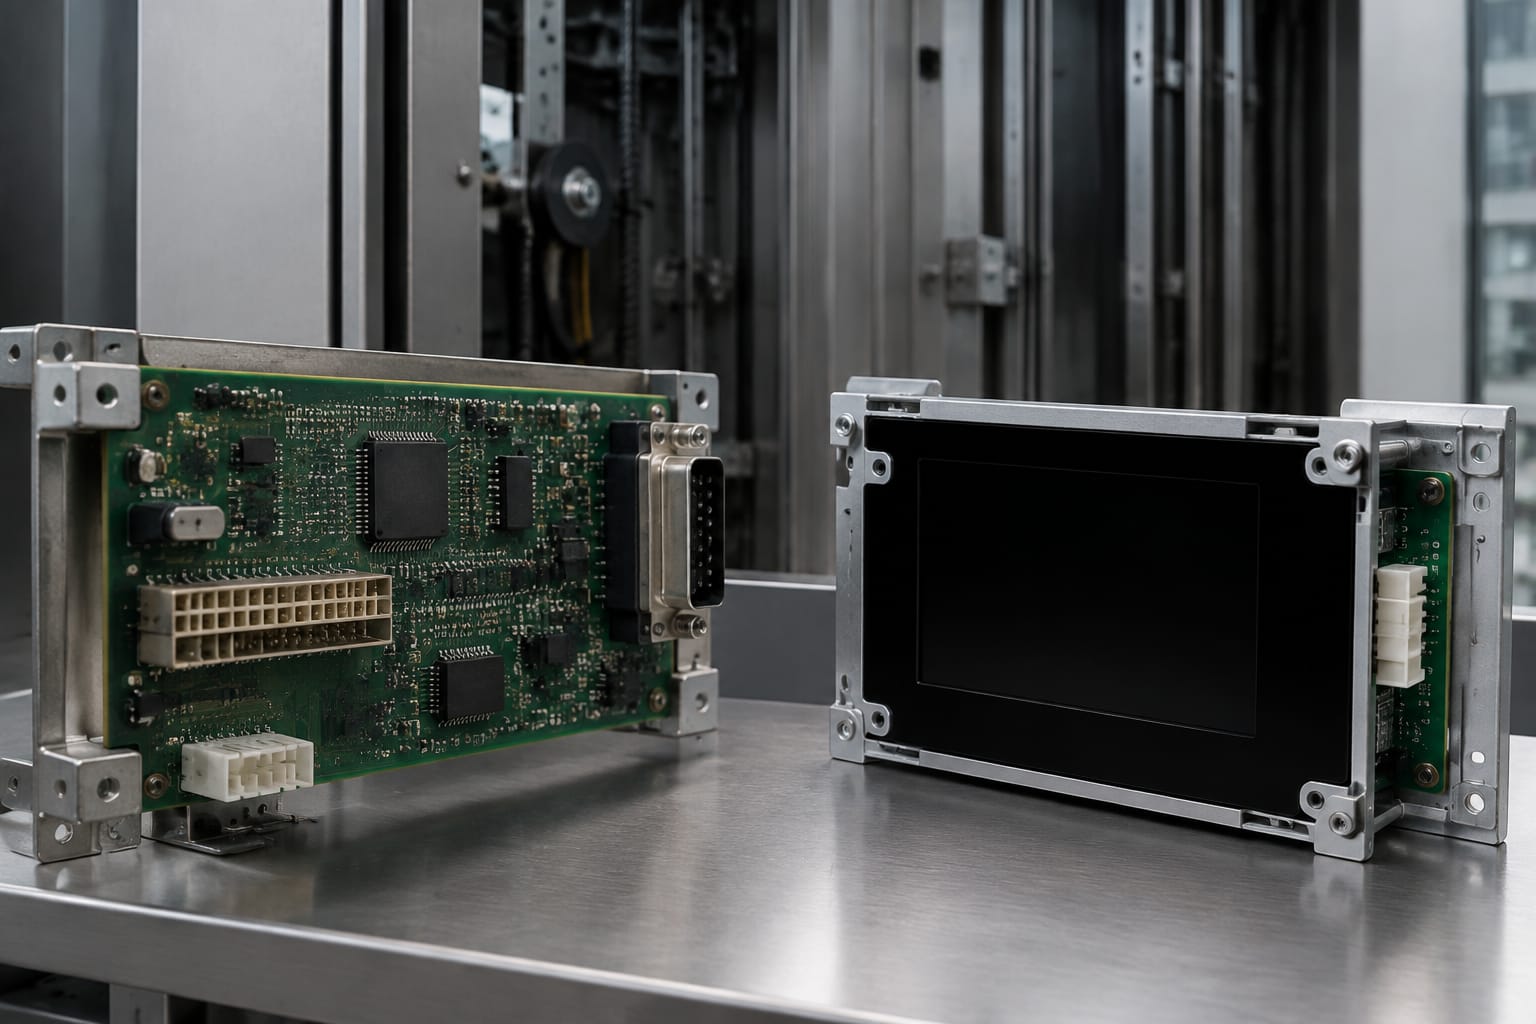
Start by identifying the lift system before selecting a spare. The same category of part, such as a display board or communication board, can vary substantially between controller generations.
Collect information from the following locations:
- Machine room or controller cabinet: Record the controller model, cabinet label, serial number and visible board references.
- Car operating panel: Check the rear of the COP, its display module and communication board for labels.
- Car top inspection box: Note relevant harness labels and interface modules, where accessible and safe to inspect.
- Landing fixtures: Inspect the rear label of the display or call station only after isolating power and following site safety procedures.
- Old part: Photograph every label, connector and printed marking before packing it away or disposing of it.
A controller family often determines how the car and landing devices communicate. It may define the bus type, connector arrangement, expected display protocol, firmware compatibility and permitted device address. Therefore, a replacement display that powers on but does not communicate correctly is not necessarily faulty; it may belong to a different system family.
Minimum identification record
Prepare one record for each requested part:
| Information to record | Why it matters |
|---|---|
| Lift make and installed system details | Provides initial context, but is not enough on its own |
| Controller family and cabinet label | Helps establish the system architecture |
| Original part number | Primary reference for matching |
| Board code and revision | Distinguishes similar boards with different compatibility |
| Clear front and rear photographs | Shows layout, terminals, connectors and labels |
| Connector count and keying | Prevents incorrect harness fitment |
| Input voltage and electrical markings | Confirms safe electrical compatibility |
| Fault symptoms and display messages | Helps distinguish a failed part from a system fault |
| Quantity required | Avoids ambiguity where multiple cars or fixtures are involved |
For multi-lift buildings, confirm whether all lifts have the same controller version and fixture arrangement. A group may look identical from the lobby but contain different generations of equipment because of phased installation or previous repairs.
Common display and communication parts
Display and communication components are frequently requested because they are visible, subject to handling damage and dependent on multiple connections. Yet these parts should never be selected purely by screen size, LED colour or panel shape.
Common requests include:
- Car position indicator or car display boards
- Landing position indicators and direction indicators
- Car communication boards
- COP display interface boards
- Outbound display boards
- Rectangular-chip communication boards
- Button, indicator and accessory interface modules
- Harnesses, ribbon cables and connector assemblies
An outbound display board typically controls or interfaces with display information sent from the lift system to a car or landing indication device. A car communication board commonly acts as an interface between the car operating panel and the controller network. Their naming can sound similar, but their location and communication role may differ.
For example, a buyer comparing an [outbound display board for Thyssen elevator applications](/products/outbound-display-board-thyssen-elevator-parts-lift-accessories/) should still check the original board identifier, terminal arrangement and controller compatibility before treating it as a replacement. Product category descriptions are useful for narrowing a search, but they do not substitute for part-level verification.
Similarly, a [rectangular-chip car communication board](/products/car-communication-board-rectangular-chip-thyssen-elevator-parts-lift-accessories/) should be compared against the removed board on its connector positions, chip or board markings, power requirement and installation role. A rectangular PCB shape is not a compatibility standard.
Where the required component is related to a 3600-series fixture or communication arrangement, compare the requested reference with the details of the [3600 car communication elevator display board](/products/3600-car-communication-elevator-display-board-cop-lift-parts/) and the original site component. Confirm the exact system relationship before ordering.
Check the part's role before replacement
Ask these practical questions:
- Is the failed item in the car, at the landing, on the car top or inside the controller?
- Does it display information, transmit data, supply power, drive indicators or combine several functions?
- Is the fault present on one floor, one lift car or every lift in a group?
- Does the controller show a communication, bus or address-related fault?
- Did the issue begin after a power event, water ingress, panel replacement or maintenance work?
A blank display can result from a defective display board, but it can also arise from loss of supply voltage, a damaged harness, a loose connector, a communication fault, incorrect addressing or a controller issue. Diagnose the circuit before treating the visible component as the confirmed cause.
Read board codes and revision labels
The board code is generally the most important reference on an electronic elevator spare. It may be printed directly on the PCB, attached as a barcode label, printed on a rear sticker or shown near a connector.
Look for identifiers such as:
- Part number or material number
- PCB number
- Drawing number
- Assembly number
- Board code
- Revision, version or index
- Production date or batch code
- Firmware or software version
- Serial number
Do not confuse these fields. A serial number identifies a particular unit; it rarely identifies the required replacement specification by itself. A board code or material number is usually more useful for sourcing.
How to interpret a revision marking
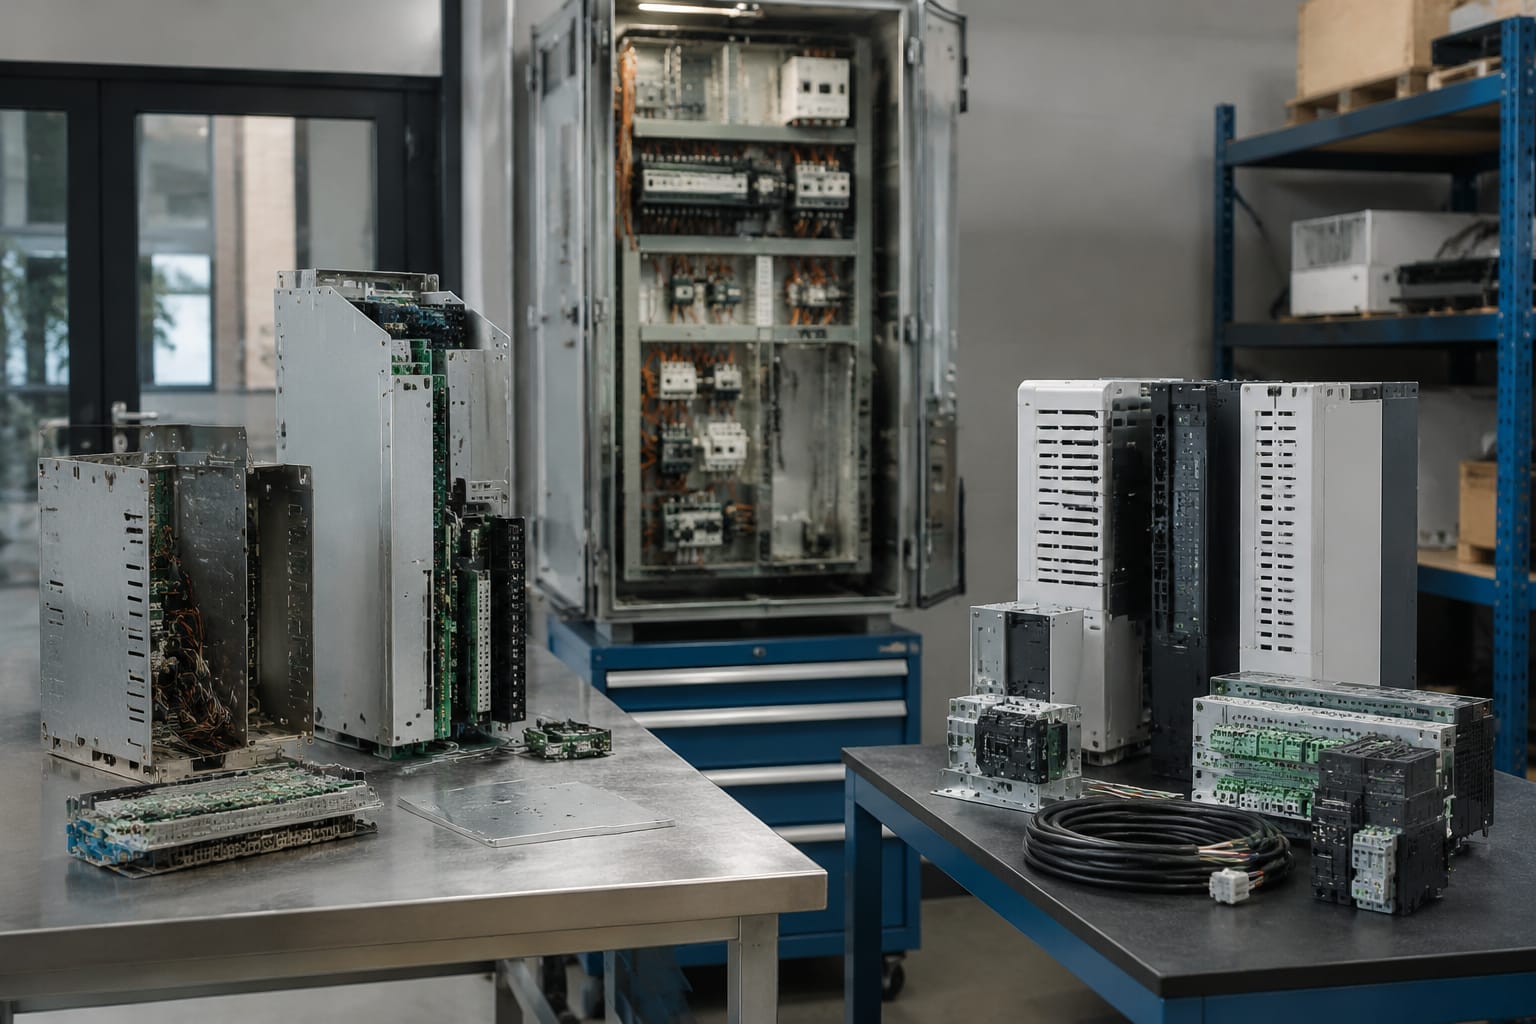
A revision marking may appear as Rev A, Rev B, V1.2, Index 03 or another manufacturer-specific format. Later revisions can contain changes to components, connector wiring, software expectations or field modifications. They may be backward-compatible, but that must be verified rather than assumed.
When the original board says, for example, ABC123 Rev C, request a replacement against the full reference, including Rev C. If only ABC123 is available, ask whether the proposed version is:
- The same revision
- A later revision officially intended to supersede it
- An earlier revision with known limitations
- A repaired original board
- An alternative requiring harness, firmware or configuration changes
Photograph labels at high resolution and include a close-up of any revision suffix. A missing character can change the result of a part search.
Common mistakes when reading codes
Avoid these errors:
- Copying a large warning label instead of the board identifier
- Treating a barcode number as the only part number without photographing the text label
- Omitting revision letters or digits
- Reading
0asO,1asI, or5asS - Providing only a front photograph when the identification label is on the rear
- Using a number from a relay, fuse or cable when the required item is the PCB
- Assuming every code on the board identifies the complete assembly
If the label is damaged, provide photographs of both sides of the board, dimensions, connector details and the controller information. This may allow a supplier to identify the component family, although it is less reliable than a legible original reference.
Compare connectors and electrical ratings
Physical fit is necessary but insufficient. Before approving a replacement, compare connectors, pin positions, supply type and electrical markings.
Connector checks
Inspect the original and proposed part for:
- Number of connectors
- Connector shape and pin count
- Keying, locking tabs and orientation
- Terminal labels
- Pin numbering
- Ribbon cable pitch and direction
- Mounting holes, standoffs and board dimensions
- Cable length and strain-relief requirements
Never force a connector because it appears close to fitting. A reversed, mis-keyed or incompatible connection can damage the replacement board, wiring harness or connected equipment.
A plug with the same number of pins may still have a different pin assignment. Connector compatibility needs both mechanical and electrical confirmation. Where possible, compare the wiring diagram, terminal designations or documented pinout.
Electrical checks
Confirm the following from labels, drawings or system documentation:
| Check | What to verify |
|---|---|
| Supply voltage | Nominal voltage, AC or DC type, and any permitted range |
| Current requirement | Whether the existing supply can support the replacement |
| Signal interface | Communication bus, serial interface, digital inputs or other system-specific signals |
| Polarity | Positive, negative, common and earth markings |
| Output function | Whether outputs drive lamps, displays, relays or other loads |
| Isolation and earthing | Any required shielding, grounding or segregation |
| Environmental fit | Location-specific exposure to vibration, heat, dust or moisture |
Do not infer a voltage from wire colours. Lift installations may have been modified, and wire colour conventions can vary. Use labelled terminals and approved electrical documentation.
For display and communication boards, software or device-address settings may be as important as supply voltage. A board that has the correct connector and power rating may still need configuration before it communicates with the controller.
Handle obsolete or renamed components
Obsolescence is common with older ThyssenKrupp elevator parts, especially electronic boards, displays and fixture-specific assemblies. A part marked obsolete is not automatically unavailable, nor does it automatically have a direct replacement.
There are several possible outcomes:
| Situation | Practical response |
|---|---|
| Exact original reference is identified | Verify revision, condition and commercial terms |
| Documented successor exists | Confirm whether it needs setup, firmware or related hardware |
| Original is repairable | Assess repair scope, test method and return requirements |
| Equivalent component is proposed | Obtain a clear compatibility basis before purchase |
| Part is no longer supportable | Consider a targeted fixture or controller modernisation assessment |
A renamed part may be a commercial reference update with no technical change, or it may represent a newer assembly with different requirements. Ask for the relationship between old and new references in plain terms: exact replacement, supersession, functional alternative or non-compatible item.
Be cautious with universal or generic alternatives for proprietary communication boards. Generic push buttons, lamps and some mechanical items may be practical in certain applications, but a networked board or display module can depend on a particular protocol and controller generation.
For a modernisation project, assess the total system impact. Replacing isolated car fixtures may be possible, but mixing old and new devices can create inconsistent displays, addressing limitations or ongoing spare-part complexity. A planned scope is usually easier to validate than a sequence of emergency substitutions.
Supplier documentation to request
A precise request produces a more useful quotation and gives the buyer a basis for checking compatibility. Request documentation appropriate to the type and risk of the part.
For an electronic ThyssenKrupp or TKE replacement, ask the supplier to provide or clarify:
- Offered part number and revision
- Whether the item is new, repaired, refurbished, used or an alternative
- Compatibility statement tied to the supplied original reference
- Product photographs showing labels and connectors, where available
- Electrical rating or relevant technical data
- Whether firmware, programming, addressing or commissioning is required
- Any included accessories, cables, display modules or mounting hardware
- Condition and inspection details for non-new items
- Return, testing and commercial terms applicable to the order
The aim is not to demand documents that do not exist for every legacy component. It is to establish enough evidence to make a defensible purchasing decision. The more proprietary the part and the more safety-critical its function, the stronger the identification and verification process should be.
Kelevator supplies multi-brand elevator spare parts for B2B importers, distributors, maintenance contractors and OEM buyers. When seeking a quote, providing the technical record described above helps a multi-brand supplier evaluate the requested reference accurately.
Information to include in a replacement request
Use a concise request format:
- Original brand marking: ThyssenKrupp Elevator, TKE or other label
- Lift and controller details
- Required part name and original part number
- Revision or version code
- Quantity
- Clear photographs of both sides and all connectors
- Fault description and whether the old part is available
- Required condition: exact original, documented successor, repair or alternative
- Project location only where it affects shipment or commercial handling
Avoid stating “same as photo” without describing the label and code. Photographs are essential supporting evidence, but typed references are easier to search and less vulnerable to image quality issues.
Replacement verification checklist
Complete this checklist before installation and again after the replacement is fitted by competent personnel.
Before purchase
- [ ] Confirm the failed component and exclude simple wiring, supply or configuration faults.
- [ ] Record the full original board code, part number and revision.
- [ ] Identify the lift controller family and affected lift position.
- [ ] Compare front, rear and connector photographs of the original and proposed part.
- [ ] Verify connector type, pin count, keying and mounting arrangement.
- [ ] Confirm input voltage, signal type and relevant electrical ratings.
- [ ] Establish whether software, firmware, addressing or parameter setup is required.
- [ ] Check whether the proposed item is exact, superseding, repaired or alternative.
- [ ] Confirm what is included with the supplied item.
During installation
- [ ] Isolate equipment and follow site safety procedures before handling electrical parts.
- [ ] Use appropriate electrostatic-discharge precautions for electronic boards.
- [ ] Inspect the harness, terminals, earthing and enclosure for damage before connecting the replacement.
- [ ] Fit connectors without force and confirm orientation against labels or documentation.
- [ ] Transfer only approved settings, jumpers or address configurations.
- [ ] Ensure covers, insulation and cable routing are restored correctly.
After installation
- [ ] Confirm normal power-up behaviour.
- [ ] Check that the display, indicators or COP functions as intended.
- [ ] Test affected calls, door operation and communication functions within the approved maintenance procedure.
- [ ] Review controller faults after testing.
- [ ] Check all affected floors or cars, not only the original fault location.
- [ ] Record the installed part number, revision and date in the maintenance log.
A replacement part should be verified within the lift's normal maintenance and testing procedures. Communication boards and controller-related components can affect more than one visible function, so an apparently successful power-up is not a complete acceptance test.
FAQ
Can a TKE-labelled part replace a ThyssenKrupp-labelled part?
Possibly, but only when the exact part reference, documented supersession or verified technical compatibility supports it. Branding alone does not establish interchangeability.
Is the controller serial number enough to source a board?
Usually not. Provide the controller serial number along with the actual board code, revision, photographs and description of the part's location and function.
Can I replace a display board with one that has the same size and connector?
Not safely without further checks. The display may use a different voltage, pinout, communication protocol, address setting or controller family.
What should I do if the original PCB label is unreadable?
Photograph both sides, list all visible markings, measure the board, document every connector and identify the controller family. Retain the original board for comparison until the replacement has been verified.
For a practical next step, prepare the identification record and checklist above before requesting thyssenkrupp elevator parts. It gives your sourcing team or maintenance contractor the information needed to compare exact, superseding or alternative replacement options properly.